For sure, procedure is rather close to refurbishing bass panel. Just more complex.
Tip: do not repair what is not broken
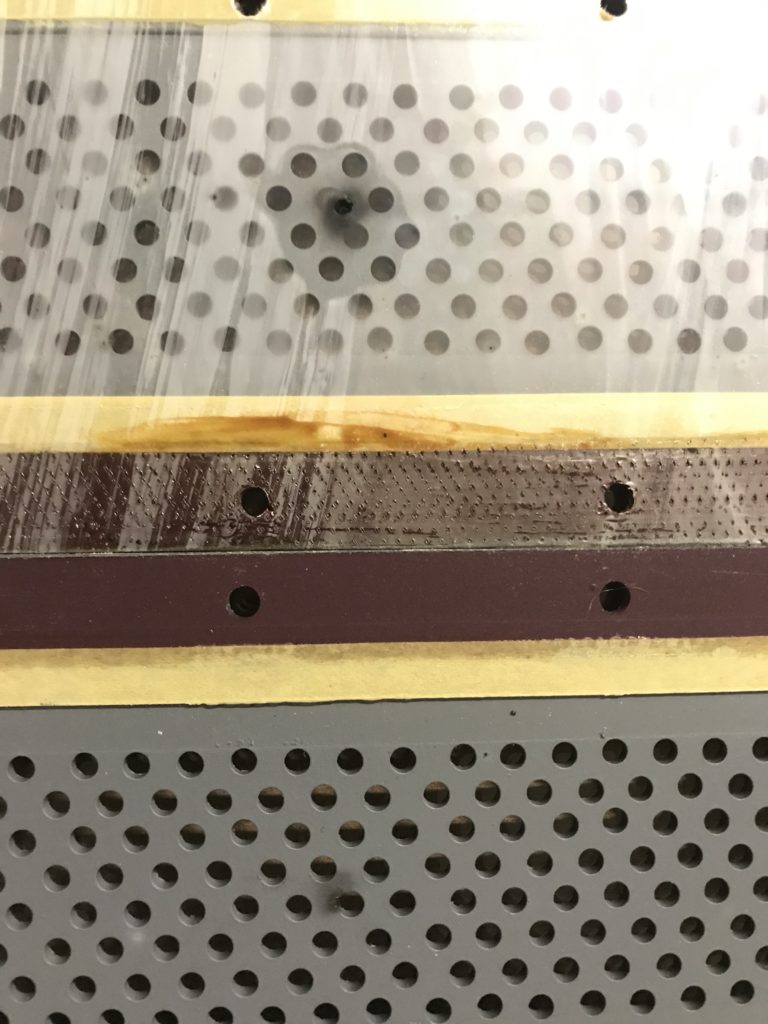
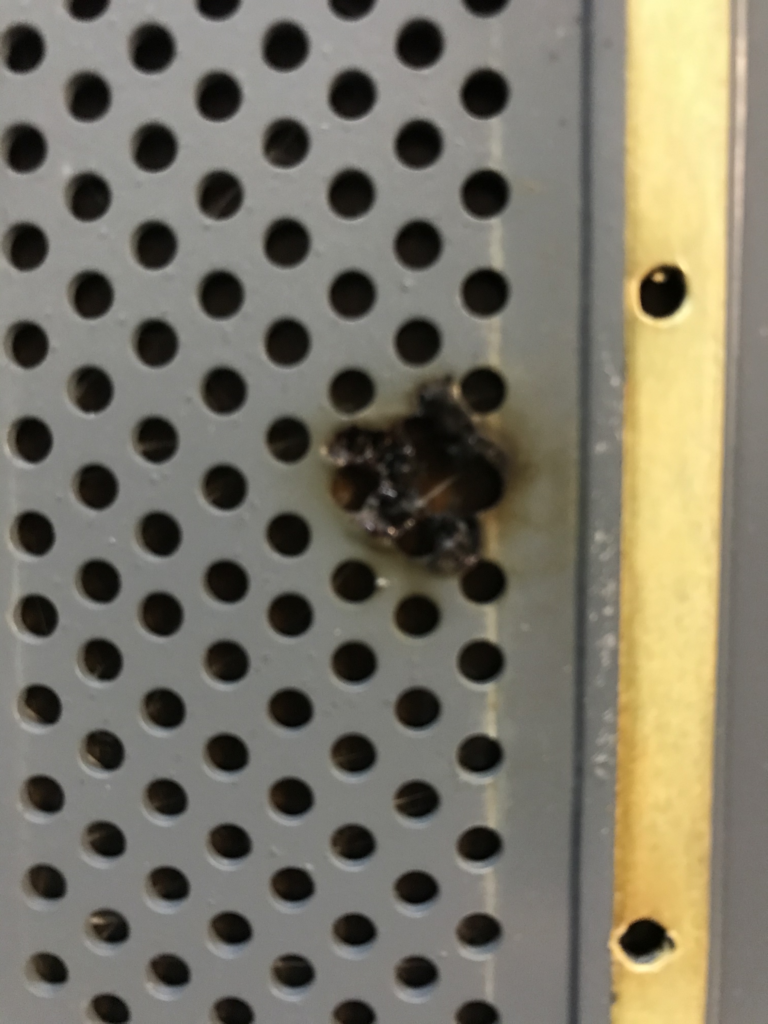
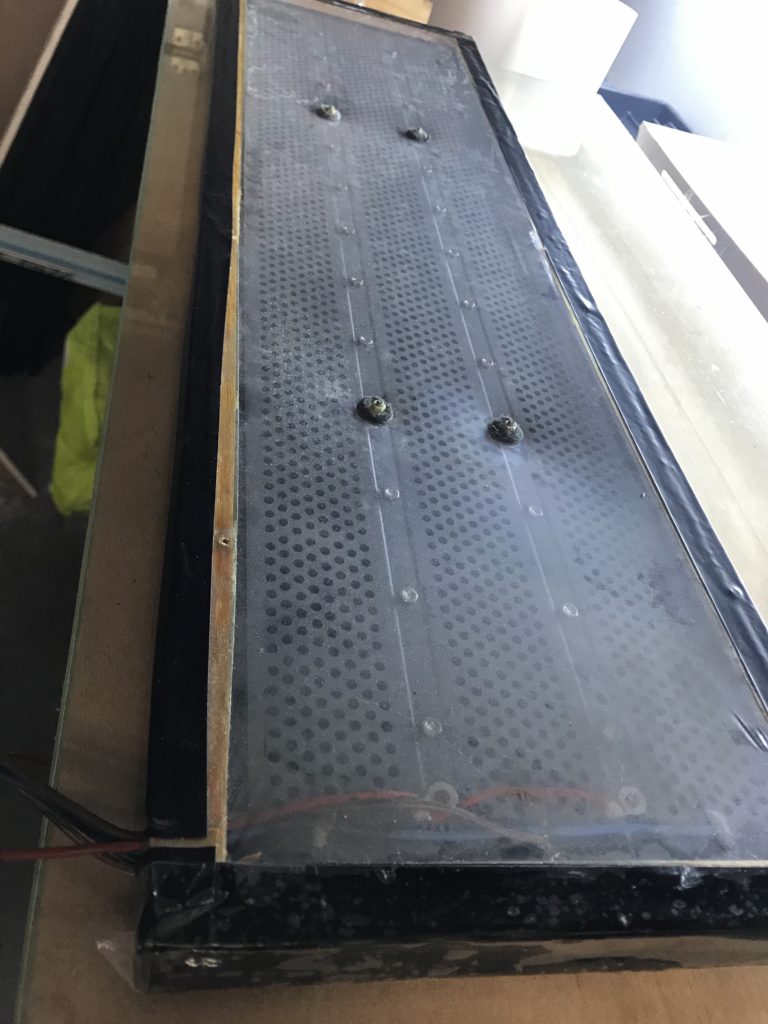
This one needs to be repaired !:
What you hear: https://esl.drakkapps.com/wp-content/uploads/2020/01/IMG_5585.mov
What you see: https://esl.drakkapps.com/wp-content/uploads/2020/01/IMG_5586.mov
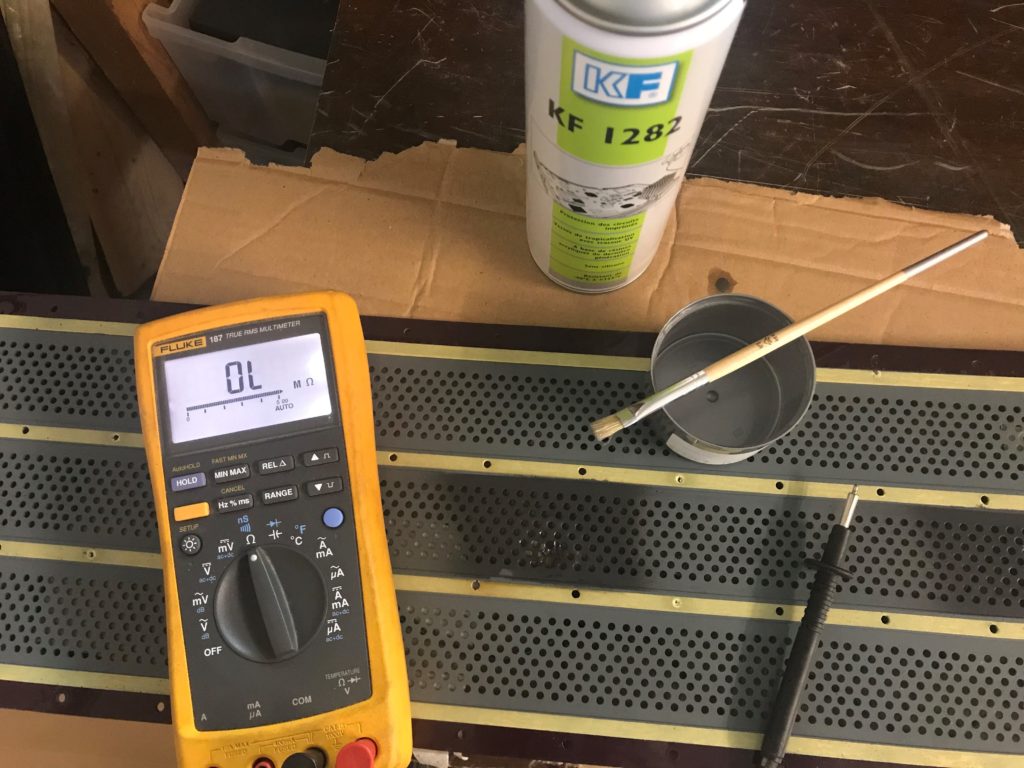
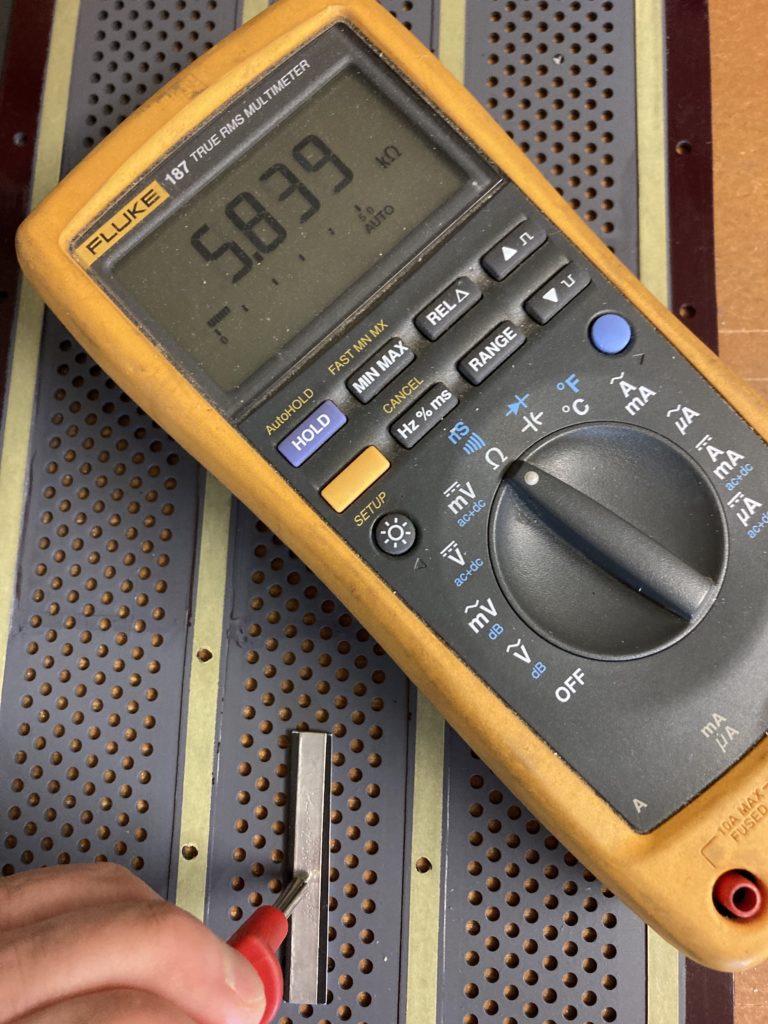
Some measurements
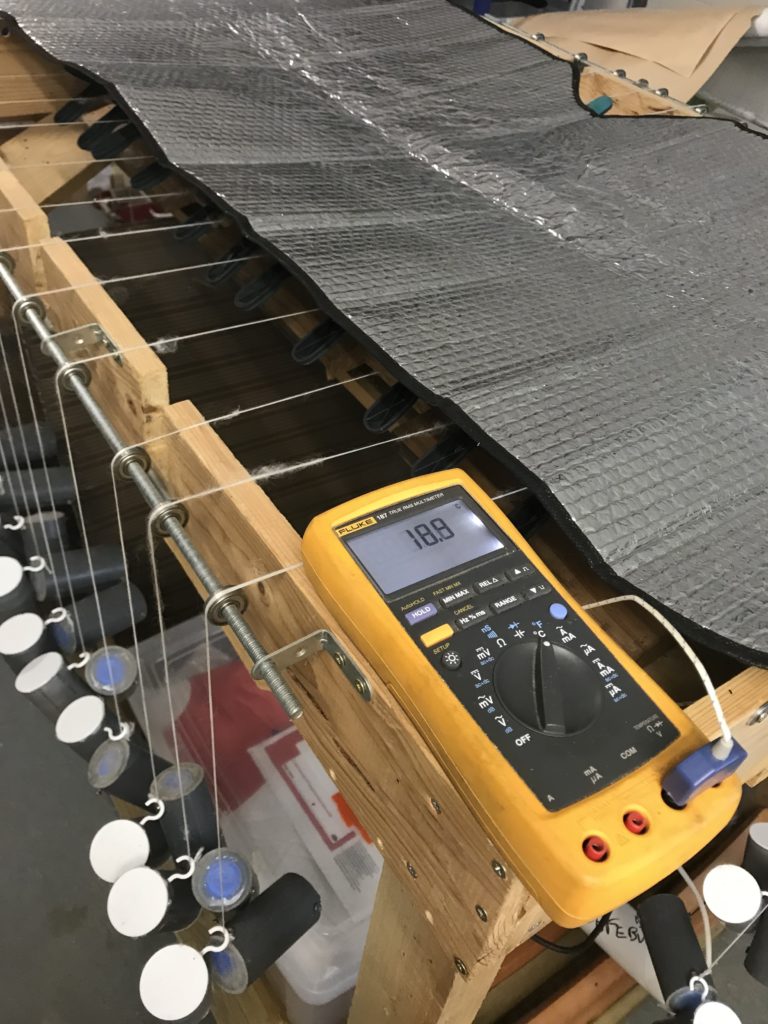
Just a sanity check. With one probe on long red wire (polarisation of diaphragm), resistance from this wire to all other ones will be much more than 500MOhm (no leakage), whereas capacitance will be approximately 180pF with blue wires (medium) and 150pF with brown wires (center, treble).
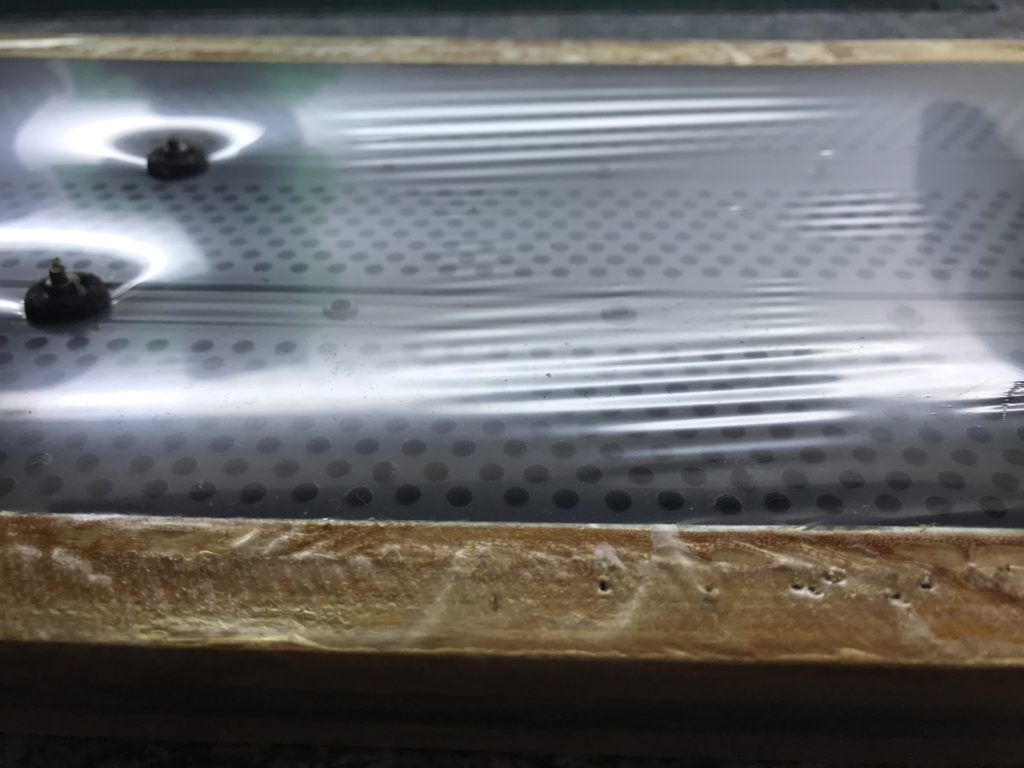
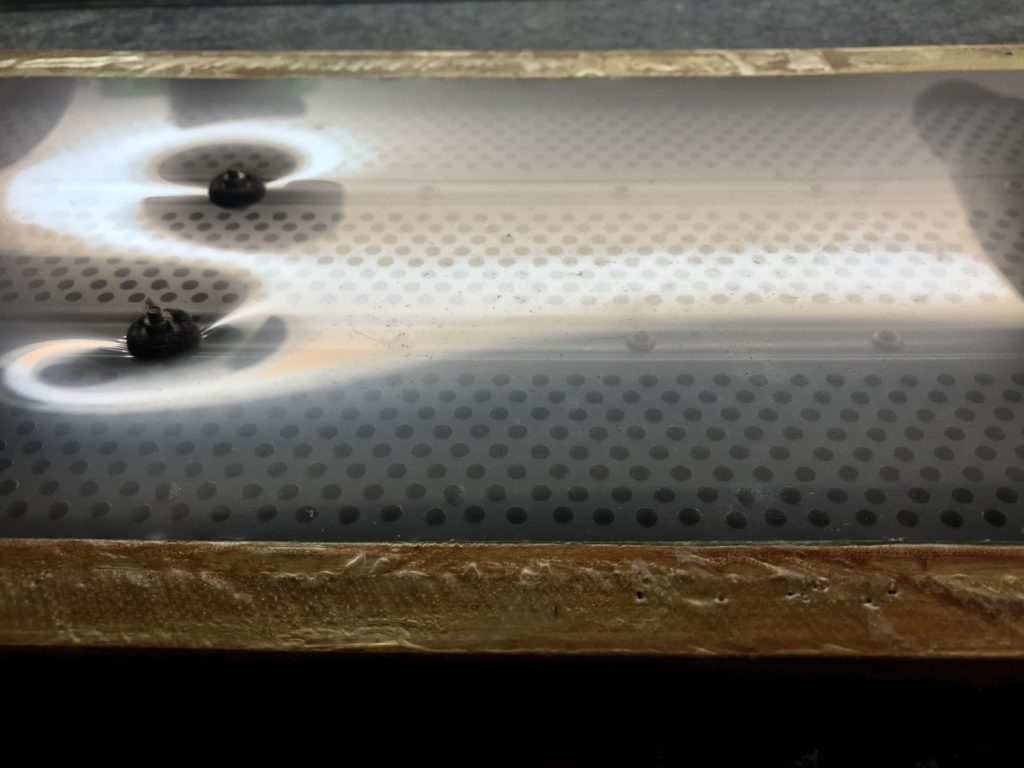
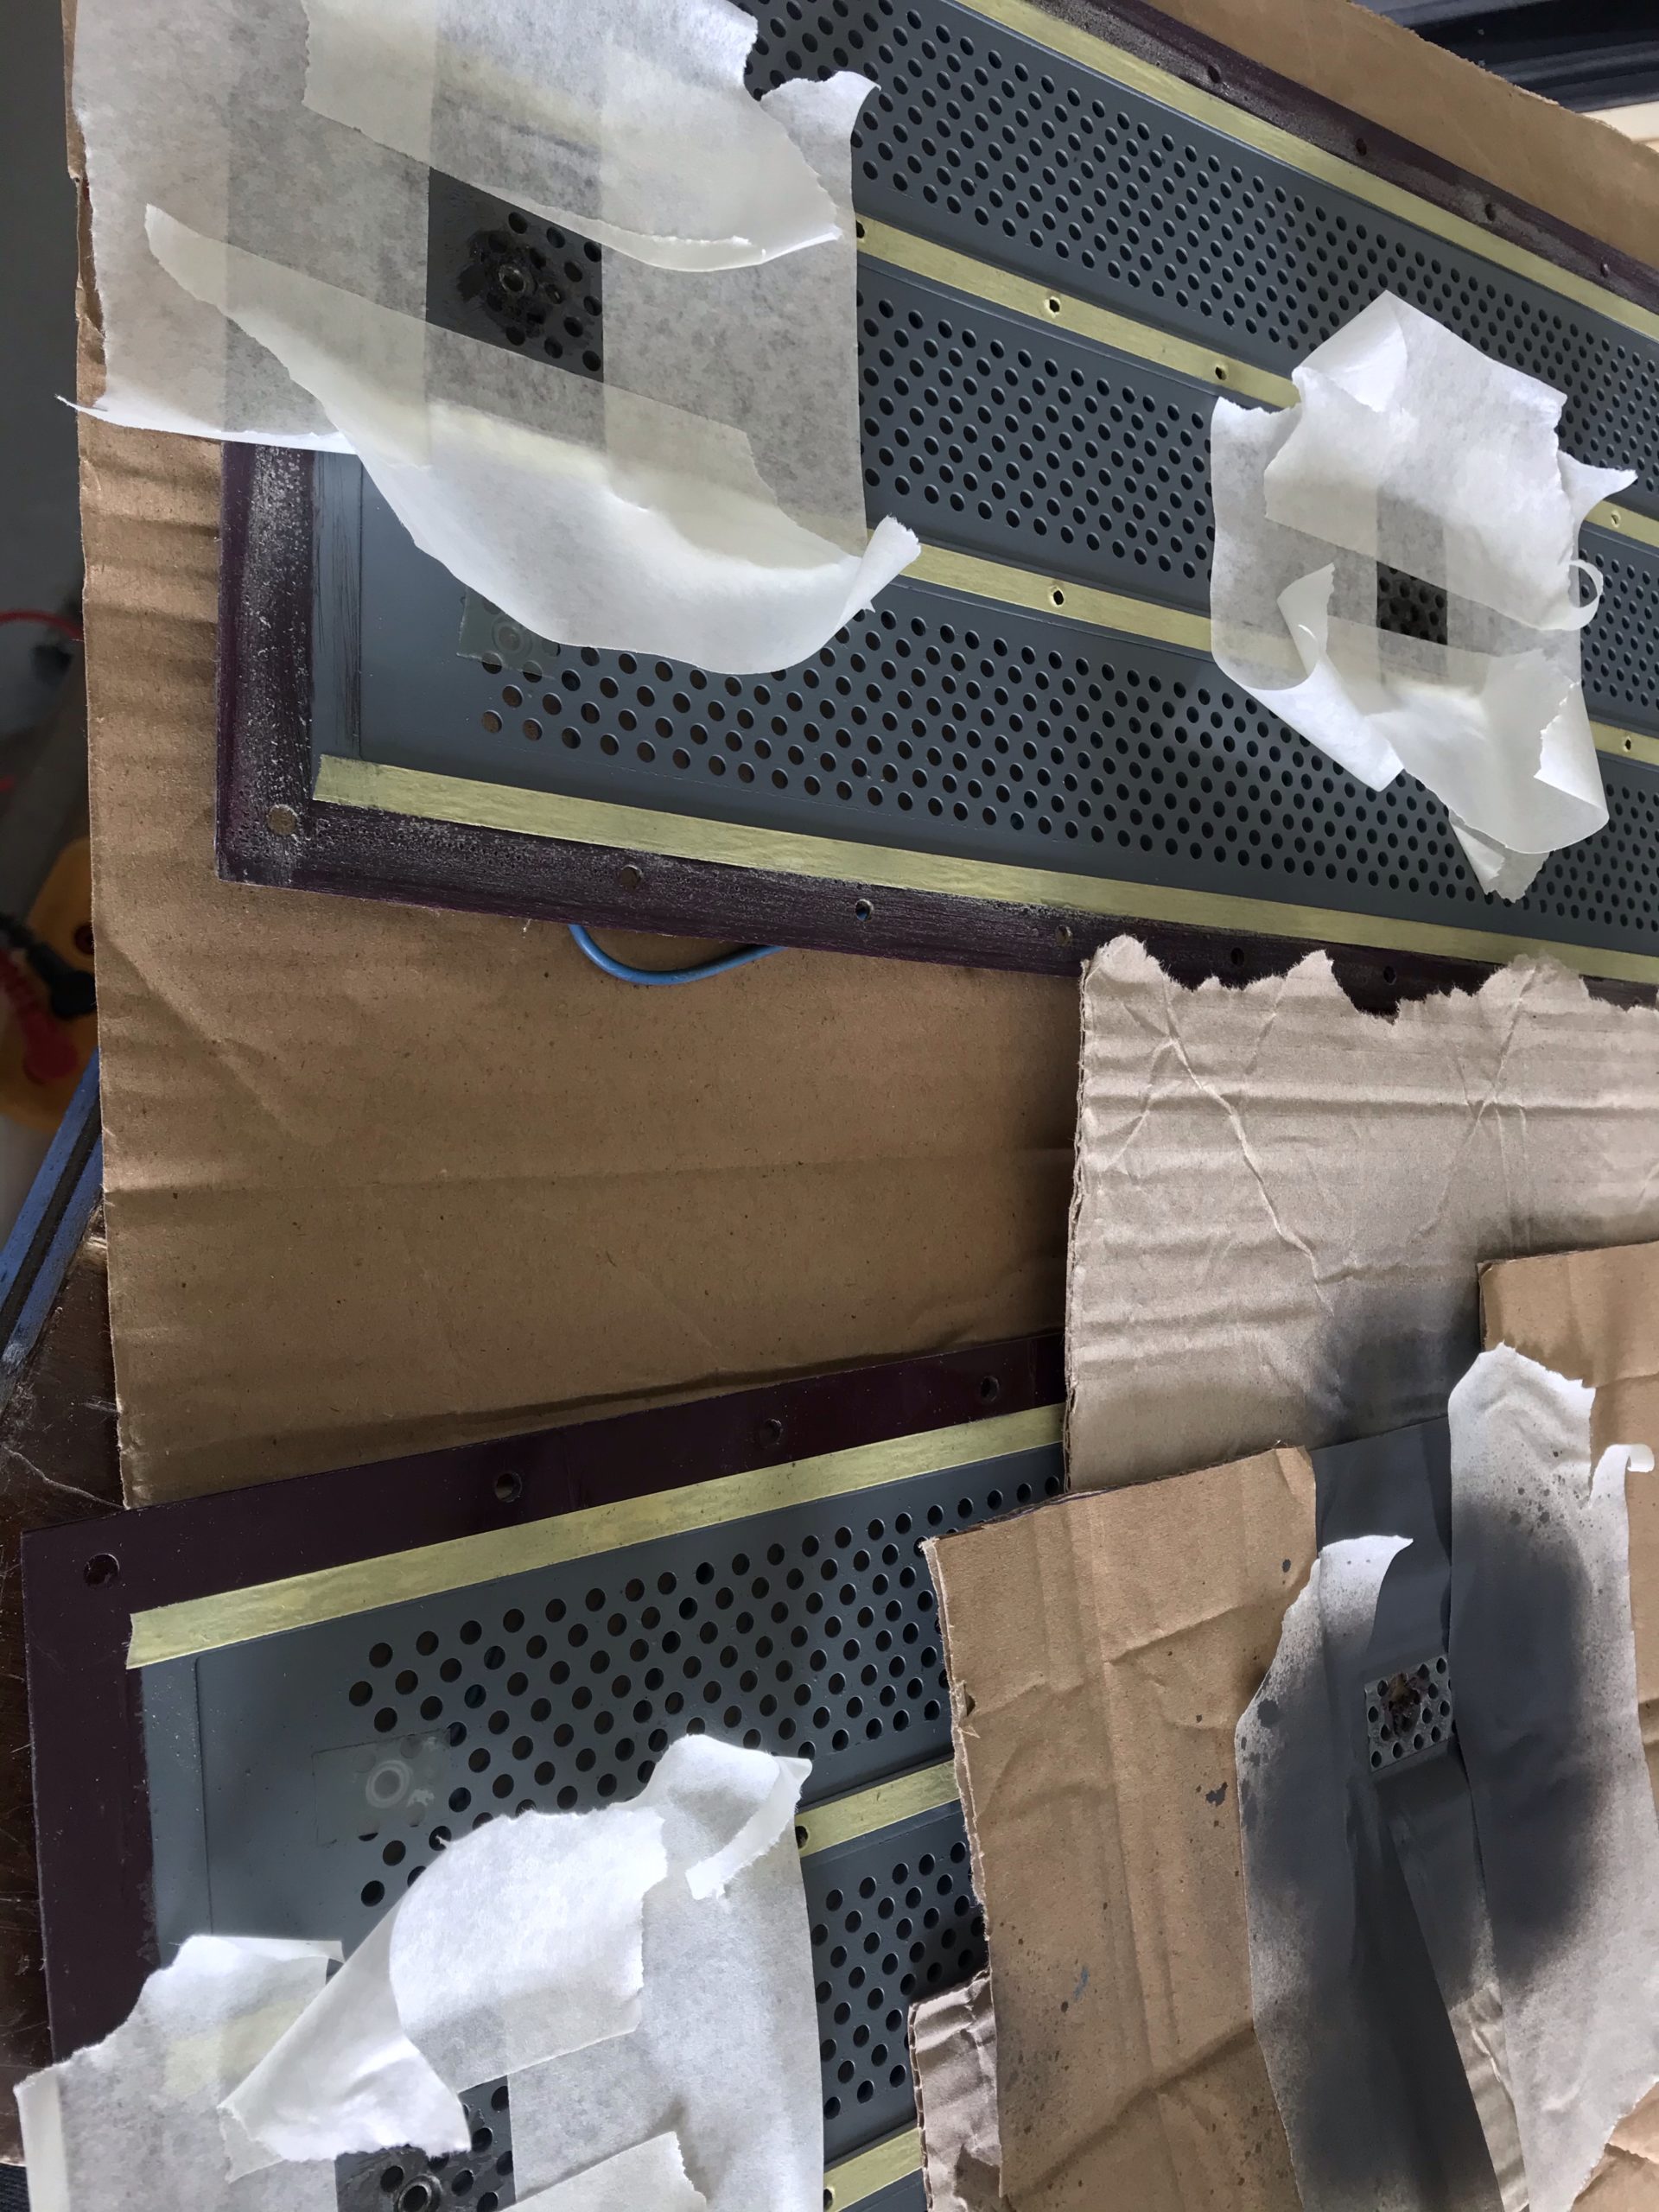
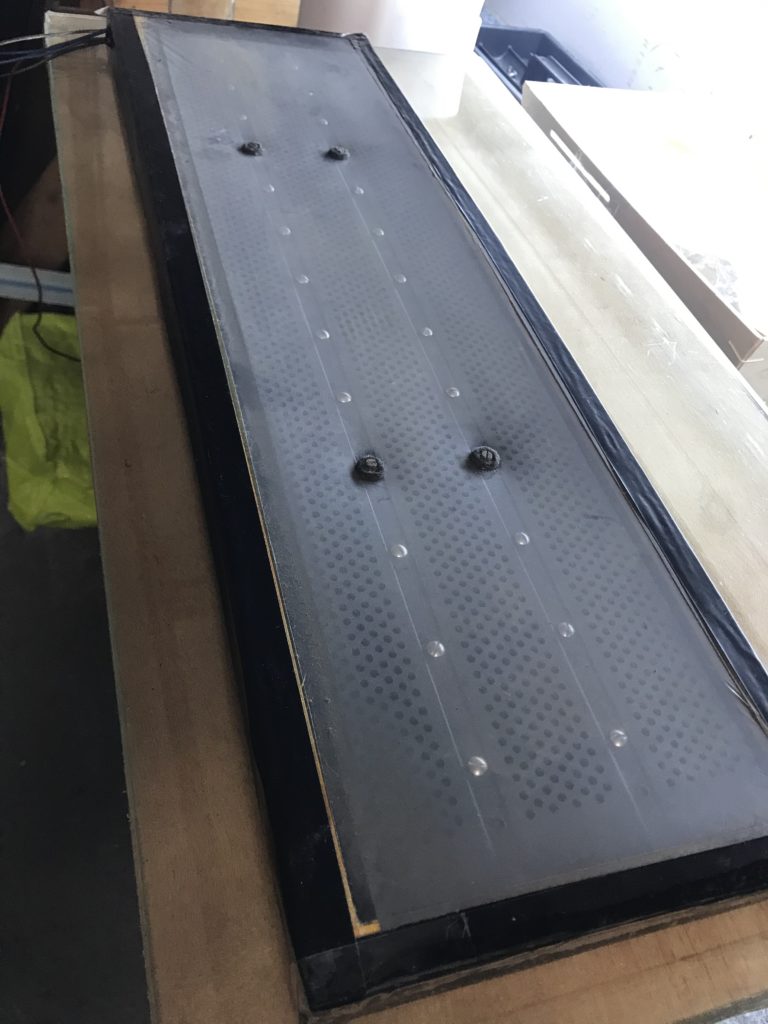
Dust covers
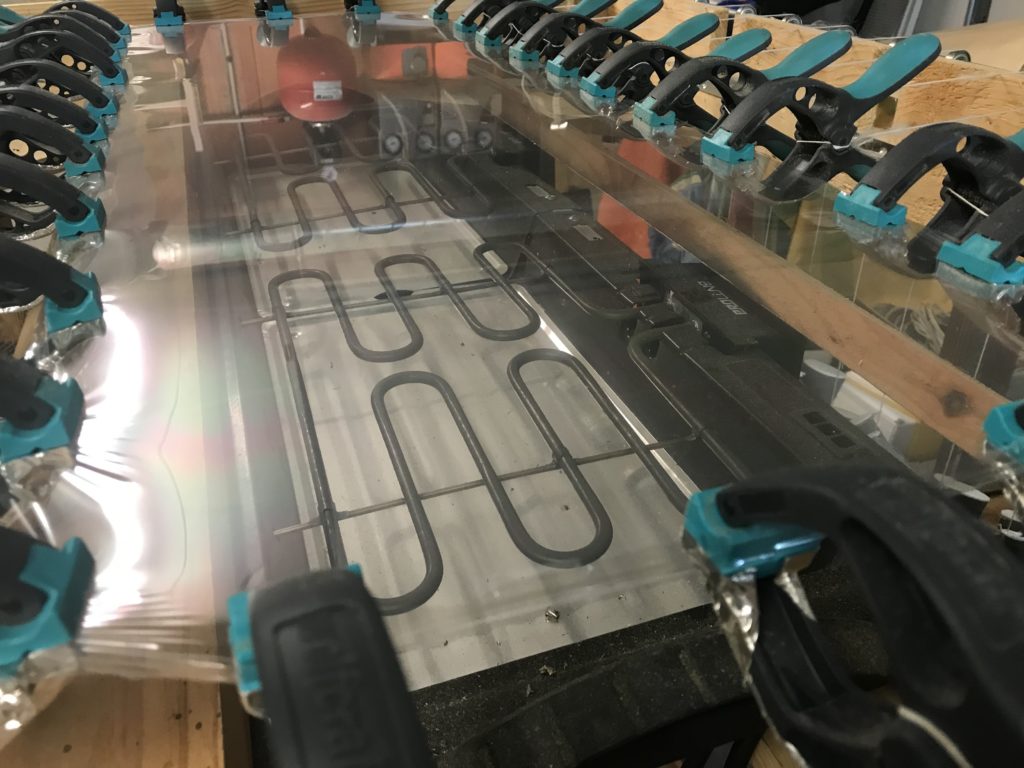
Same procedure as for dust cover for bass panels. A reparation is sometimes possible when wrinkles are visible. See below, using a heat gun set at 100°C.
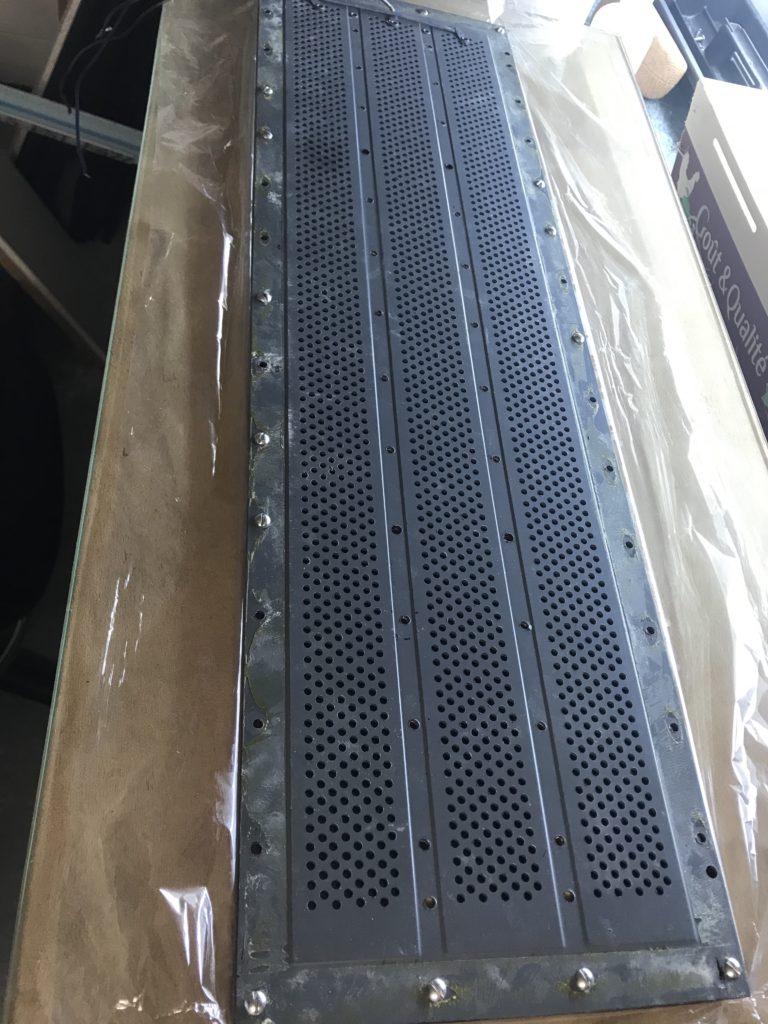
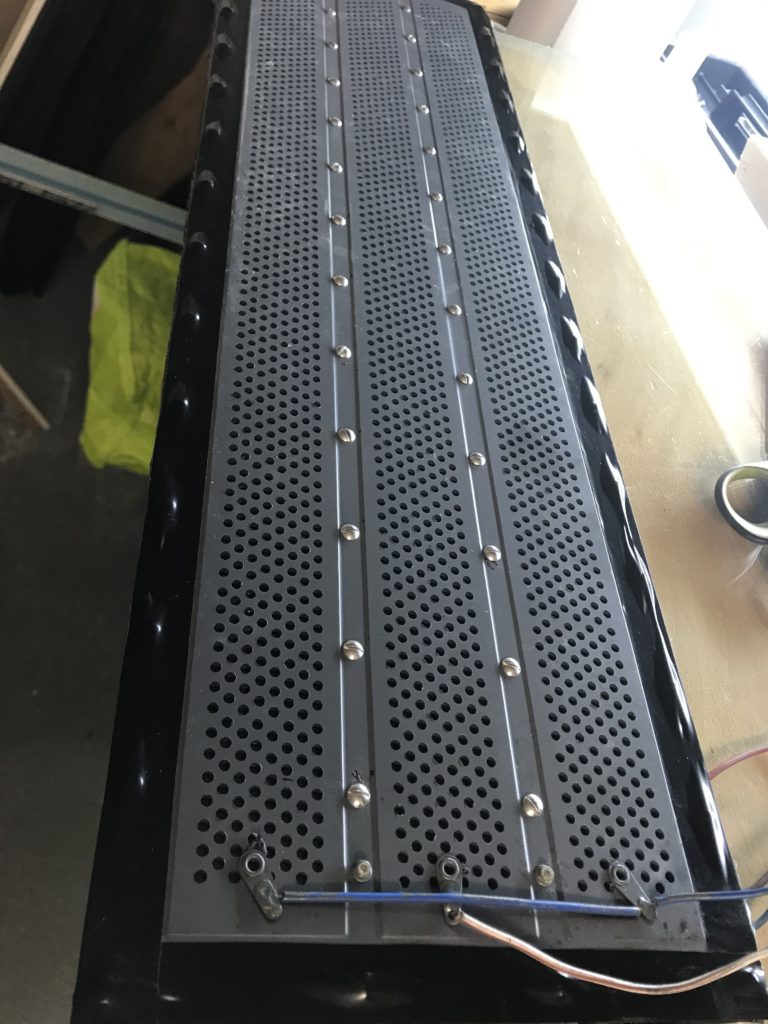
Open cell
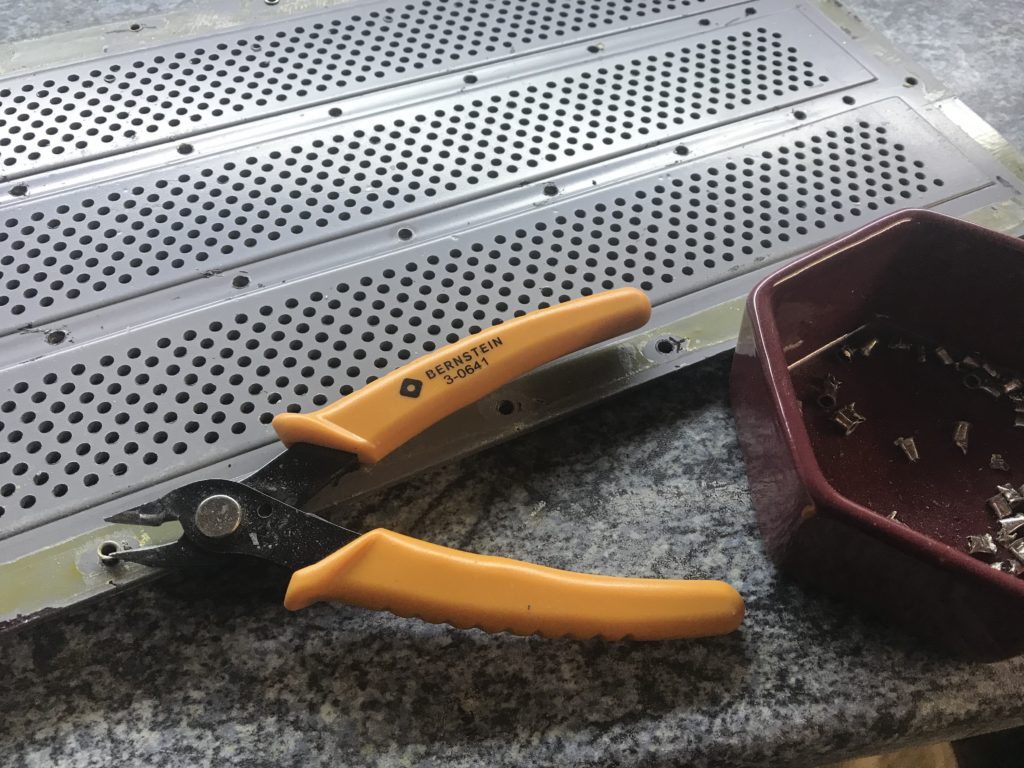
Use a plier to squeeze the head of the rivet in one direction then in the other. Cut the head (wear glasses !) then push gently and remove the other part of the rivet from the other side. Plan for 45min to remove 56 rivets (vs about 66 for bass cells).
Note for refurbishers: treble cells are 4.4mm thick (embossed version), rivets have a diameter of 3.2mm. M3x6 screws and low profile nuts (1.8mm) are adequate as replacement: this is what I use. If rivets are preferred, theory says: 4.4*1.1+3.2*1.5=9.64 : 3.2x10mm can be tried. For bass cells: M3x10 / 3.2×14. But rivets that size are too high for installing properly dust covers.
So, my last word:
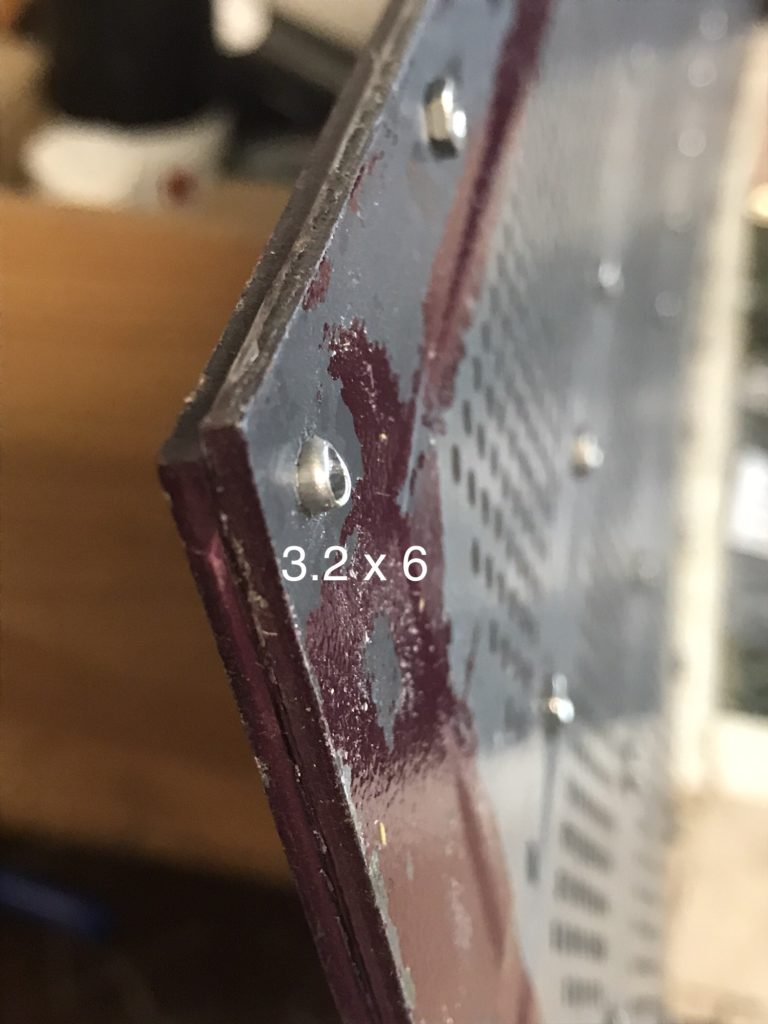
- screws: M3x6 (no spacer version, embossed) for treble, M3x10 for bass
- rivets: 3.2×6 (no spacer version, embossed) or 3.2×8 (version with spacers) for treble, 3.2×10 for bass
- rivets: check if not too tall for dust covers first, thus for the 36 (treble) or 42 (bass) ones at the perimeter of the cell
Tip: do not remove the 2*2 rivets that are used to power the diaphragm (red wire)
Repair arced cell
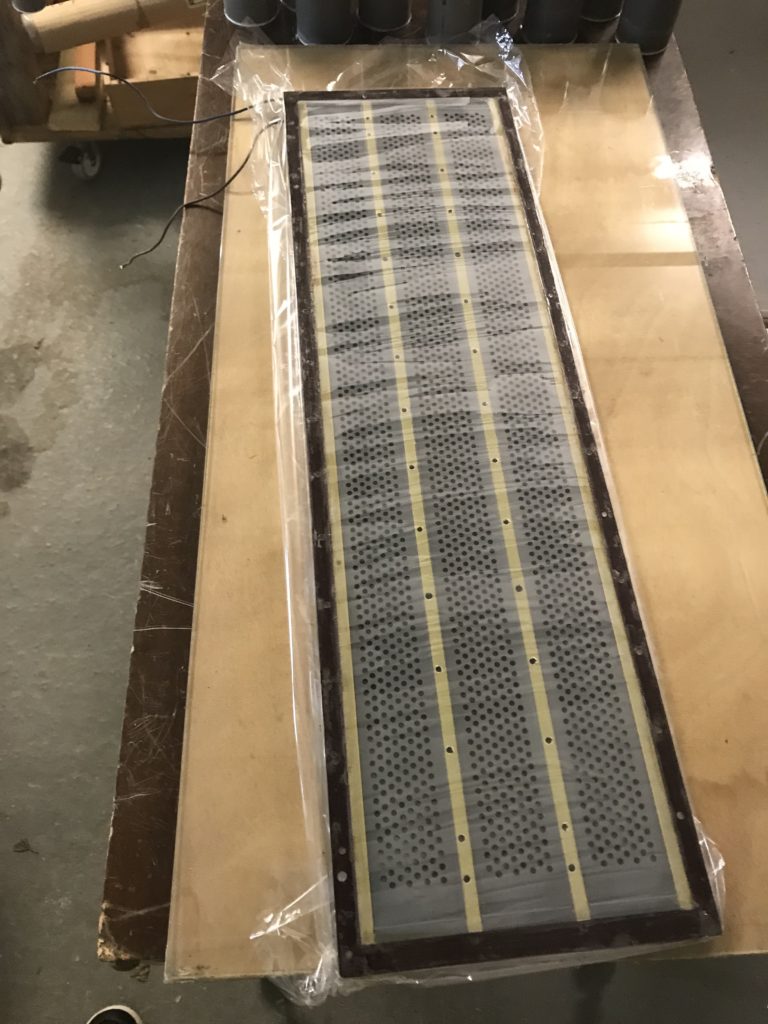
Repair cell if arcing occured: carbon paint (conductive) + gray paint + isolation varnish
Tip: use a brush for varnish! Spraying it is not efficient

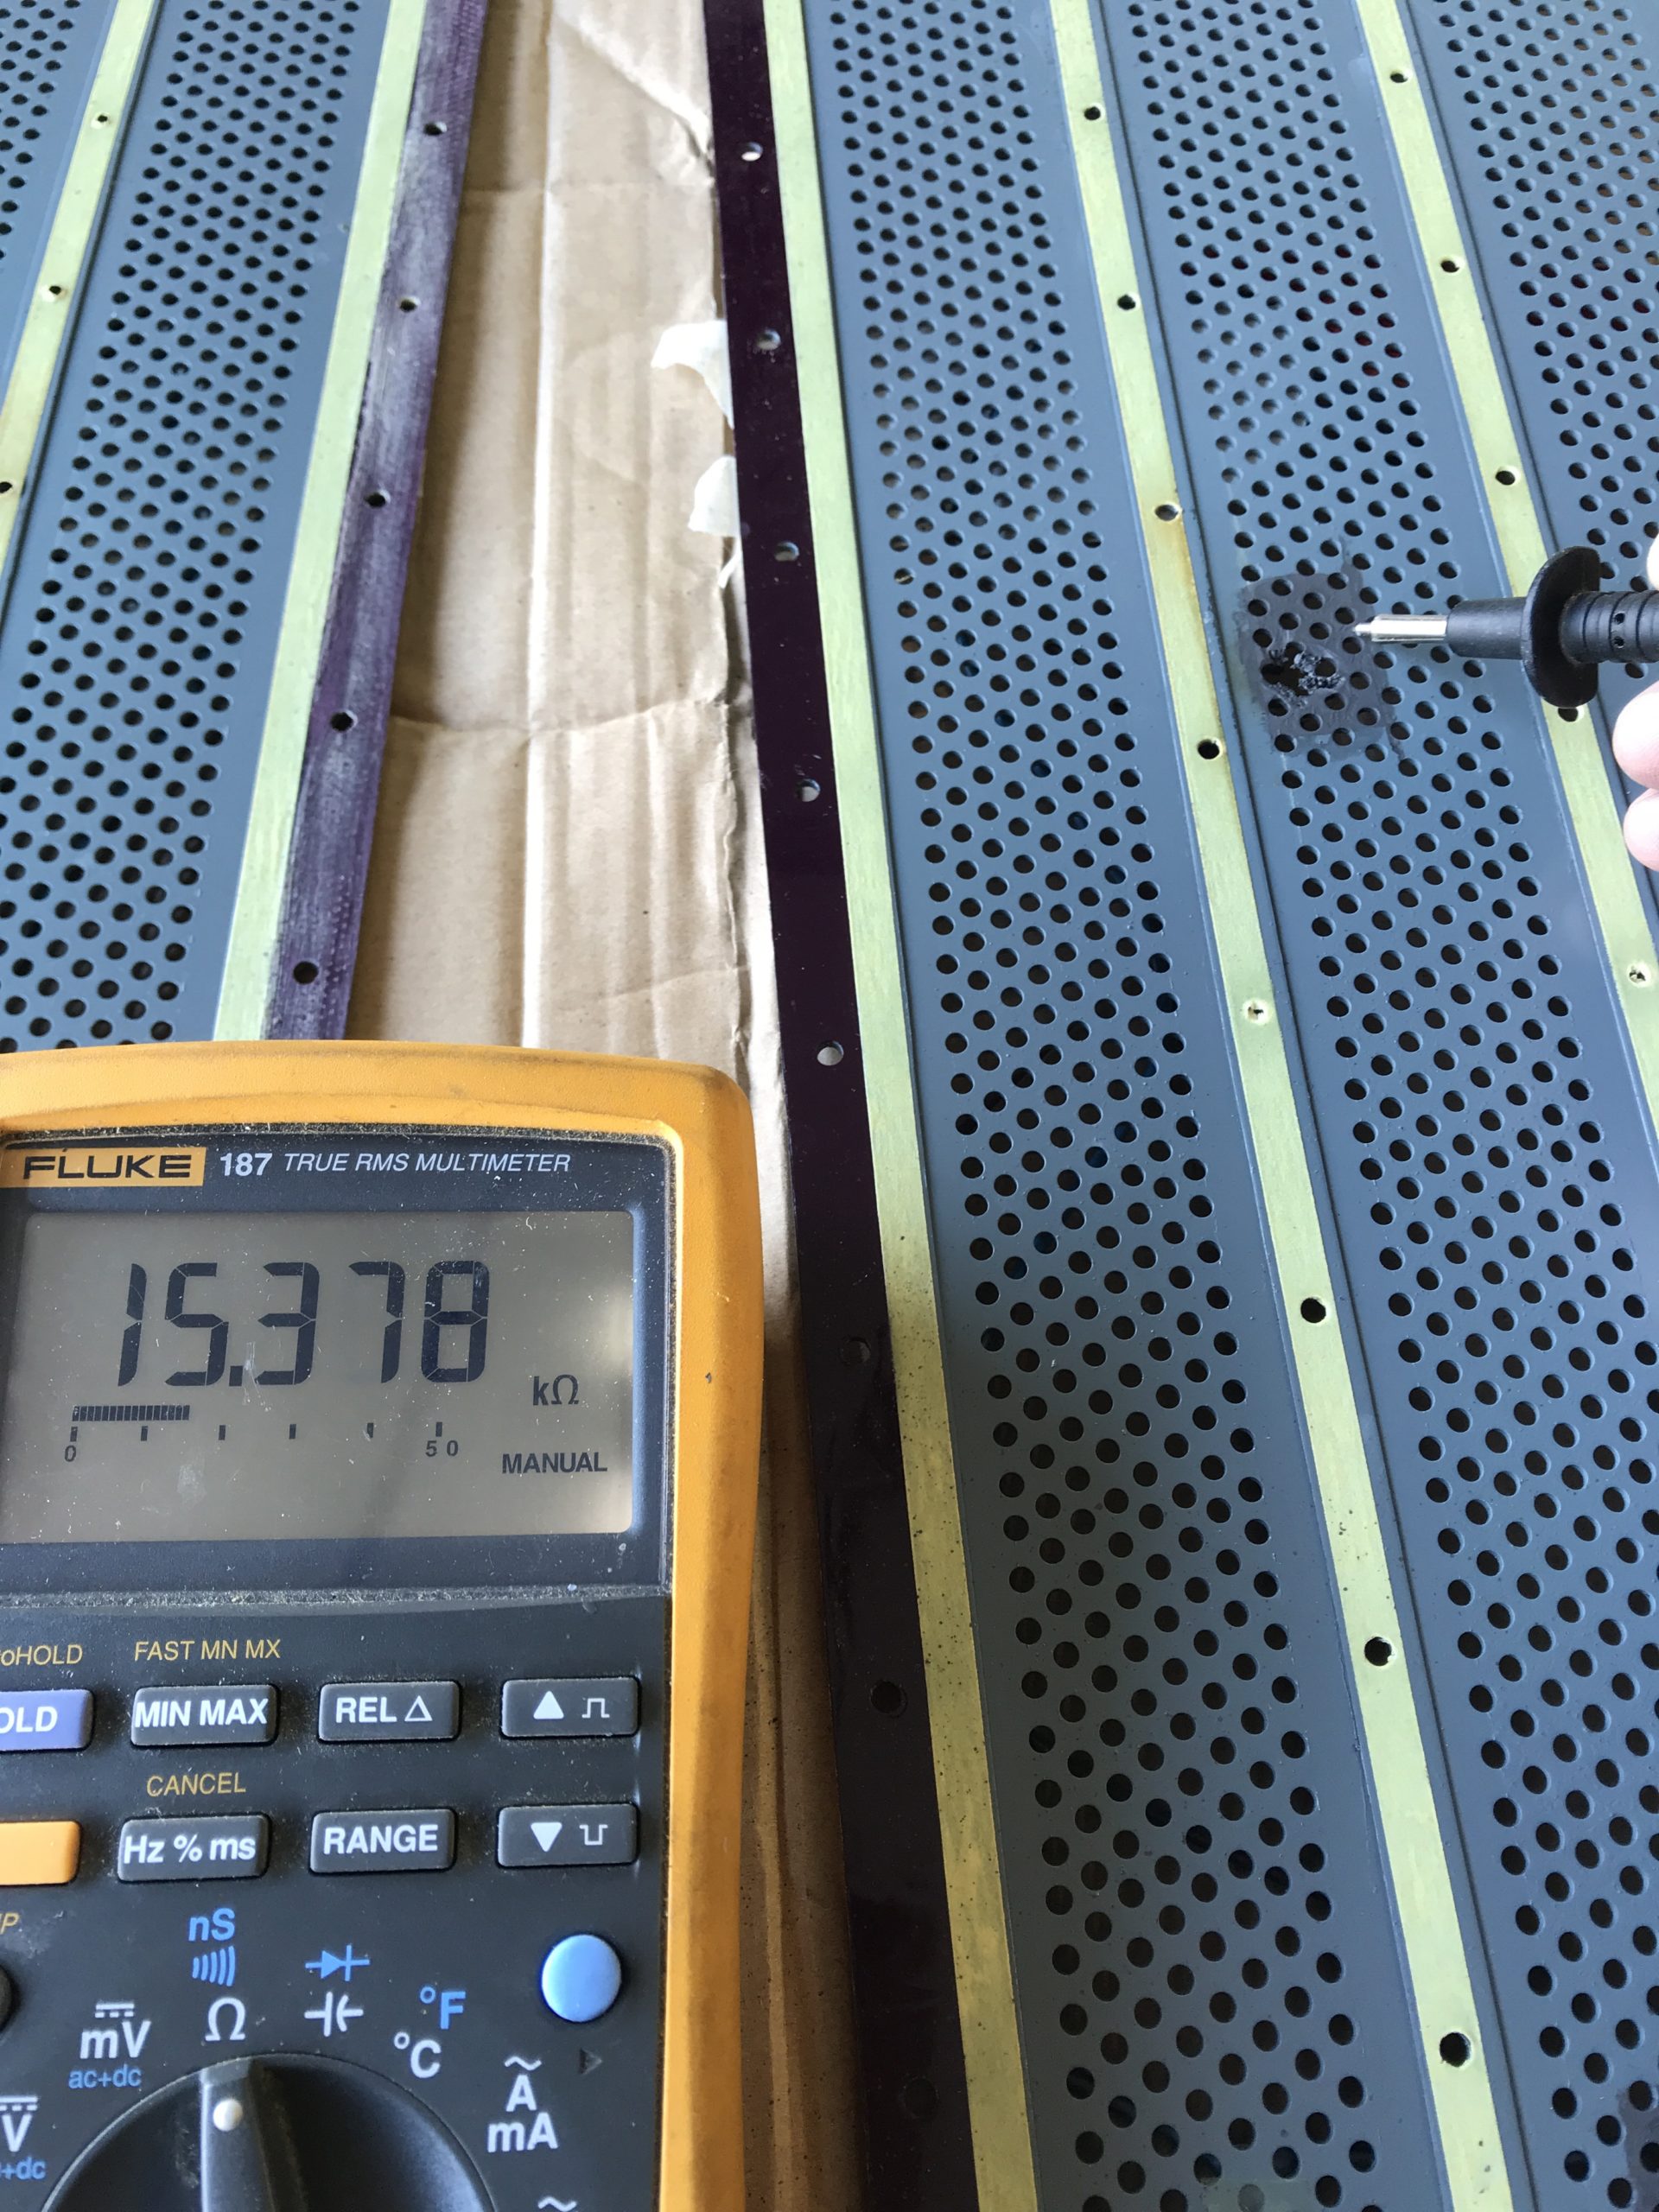
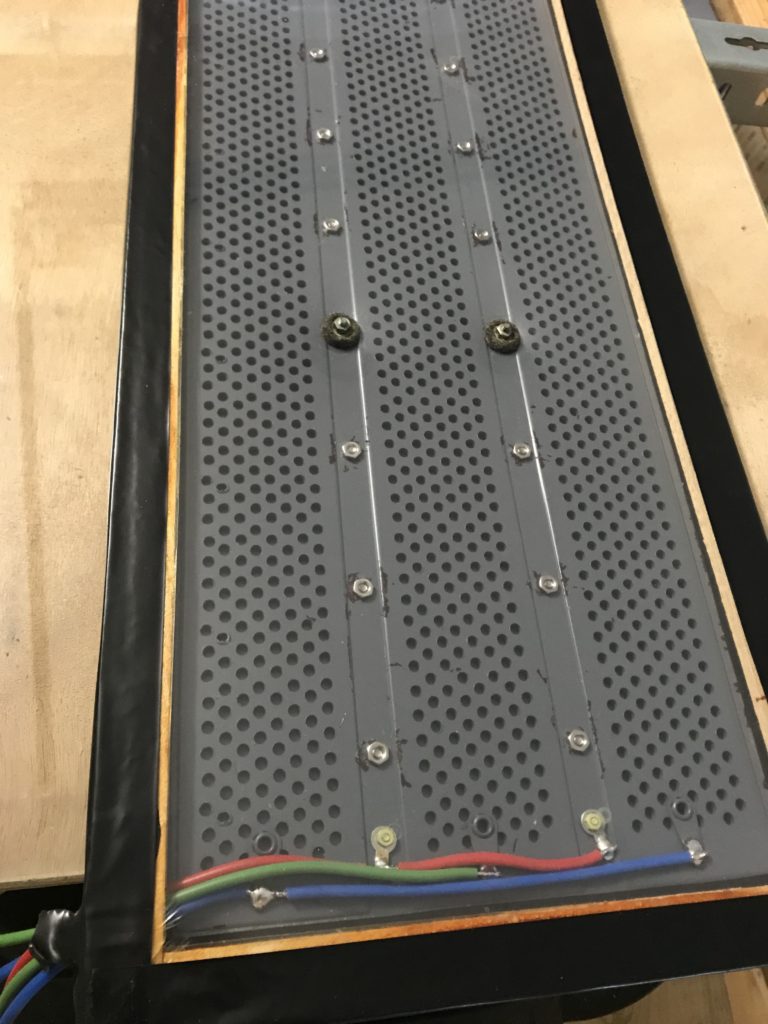
Original insulation by paint can be very low: see next picture. Does it mean that with a decent insulation, arcing would not occur ?
Assembly
Tip: use low profile bolts to avoid changing overall thickness of the cell
New wires: long enough to be confortable to solder the audio input transformer:
- 44 cm for the 2 blue ones
- 35 cm for the 2 brown ones
- 64 cm for the red one
Further details
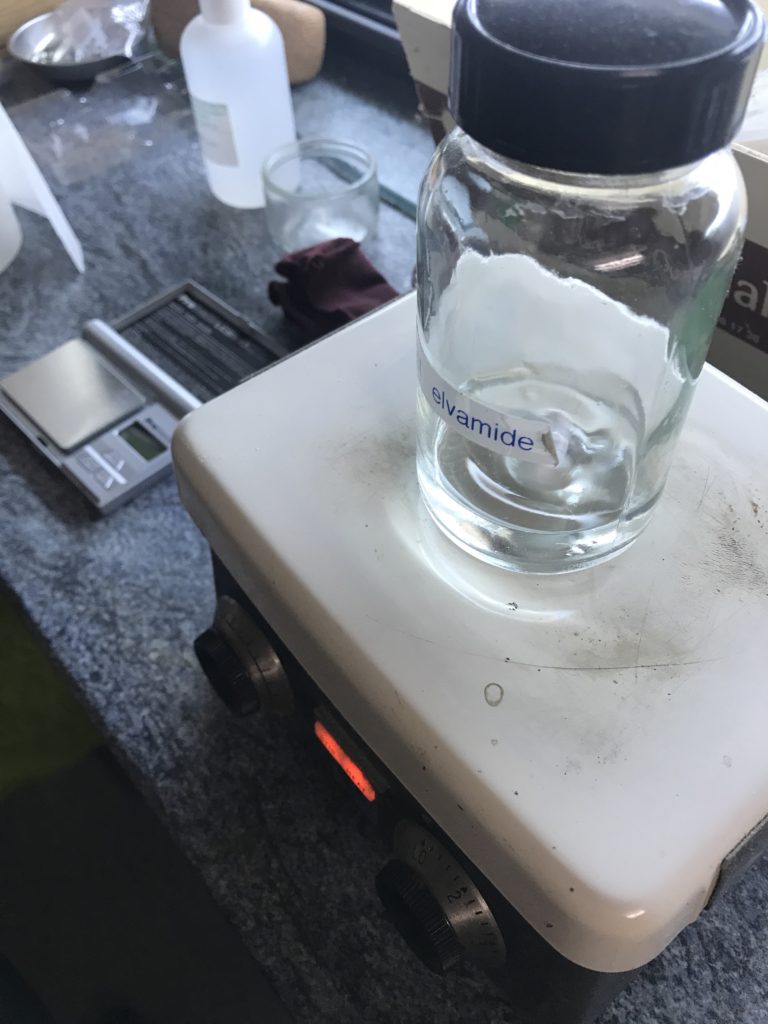
Further diluted: 10g of Elvamide + 10g of alcohol.
This would be enough for a bass cell. For treble, let’s double weights.
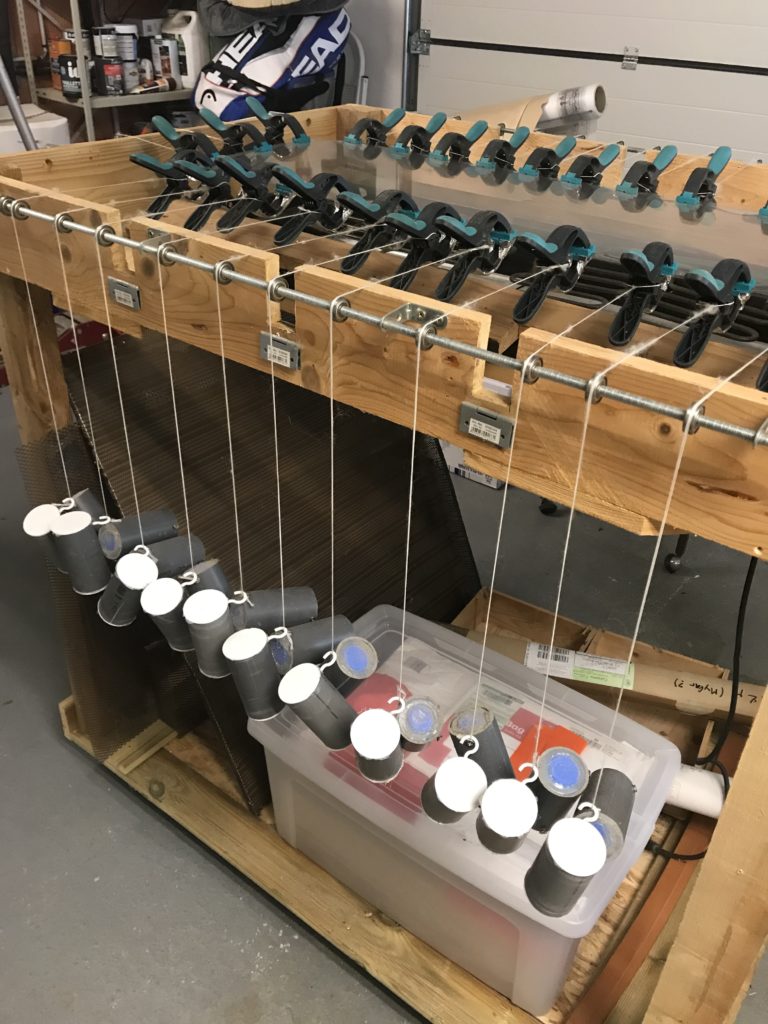
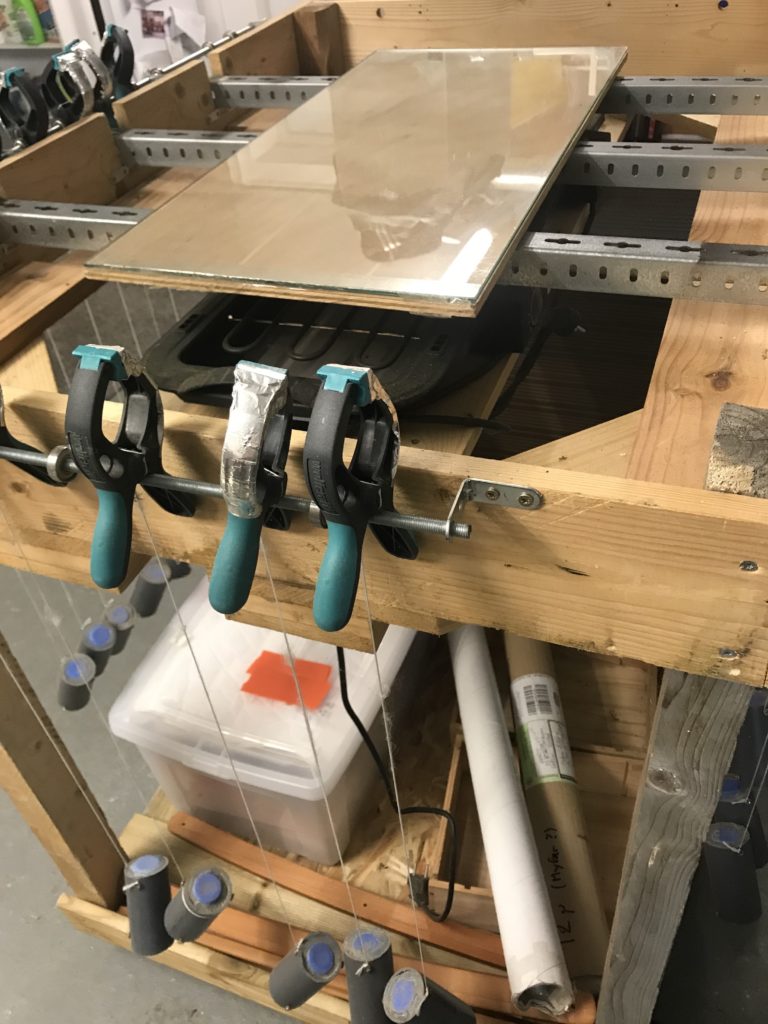
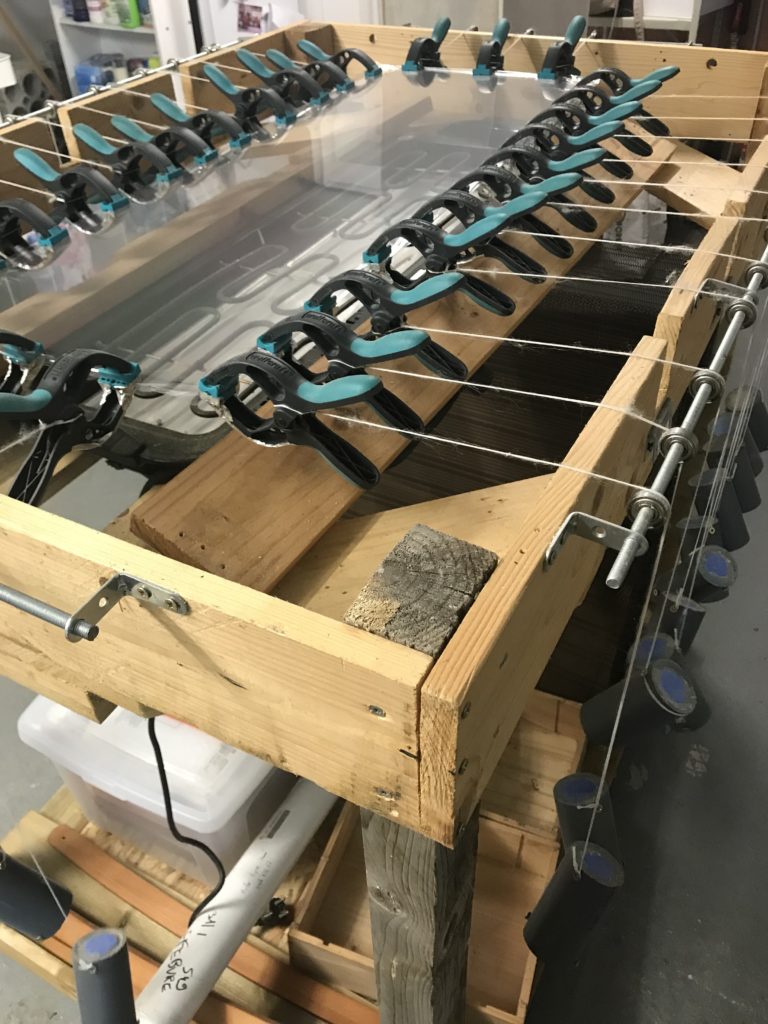
Heat till 100°C then let cool down as slow as possible and always under tension. I tried up to 140 then 160°C in the past so there is margin here.
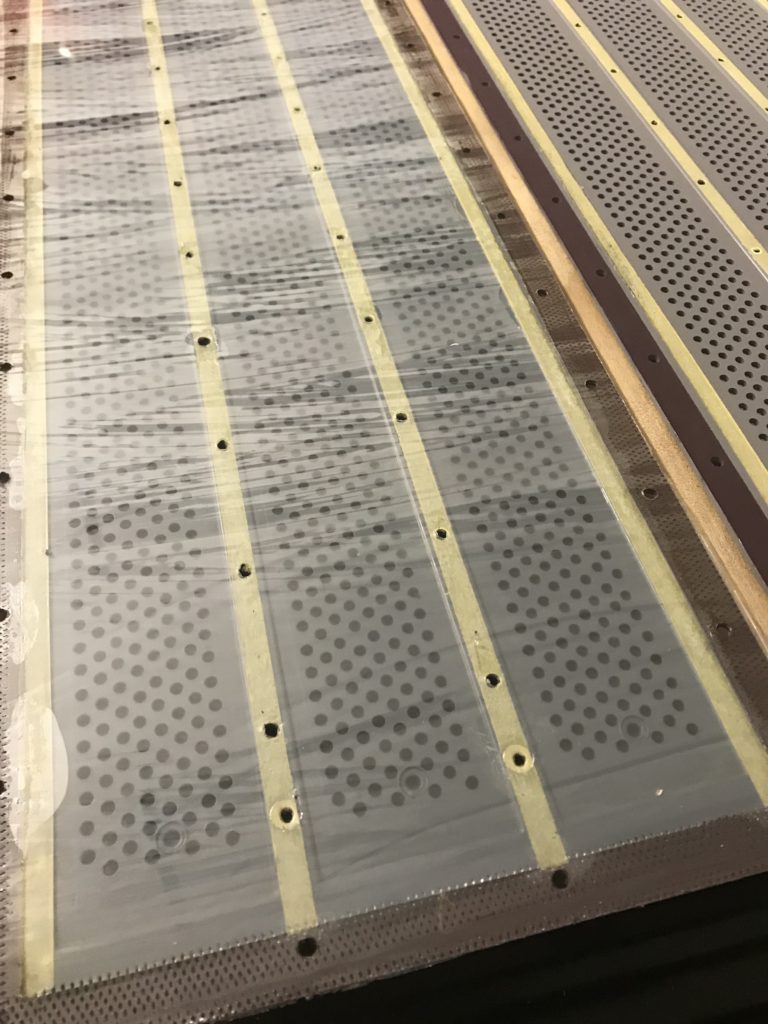
Outline with a pen the location of the panel, where it will be glued. Clean first the tensioned film with alcohol before applying coating. Then apply coating before glueing (avoid or clean outer cm to reduce leakage).
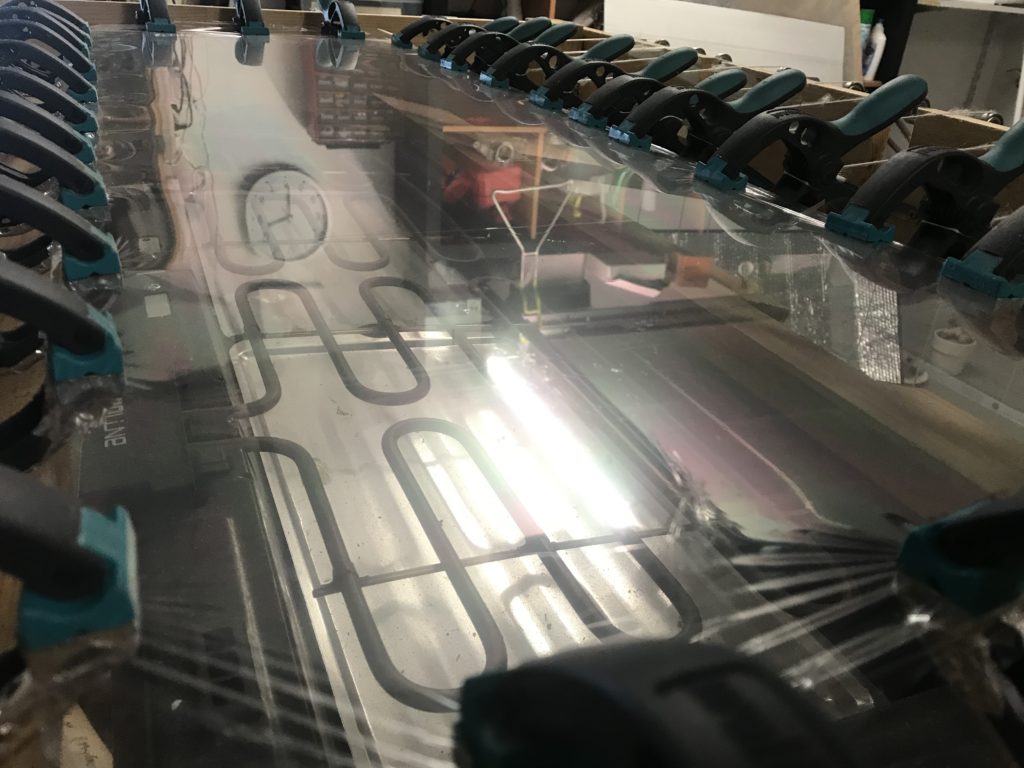
Coating can now be applied on the other side. Outer cm will be cleaned with alcohol to reduce leakage.
Use iron to burn holes through mylar. Use iron to cut mylar.
By the way, bolts and nuts or rivets ? Make your choice ! But which size for rivets ?
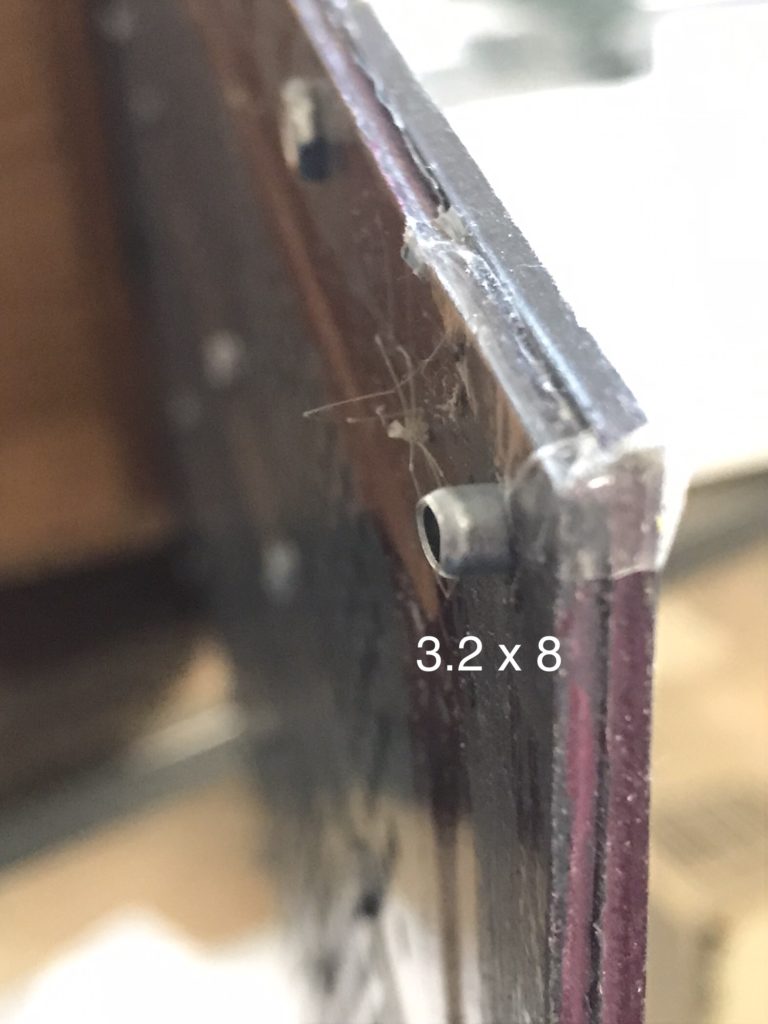
3.2×8 is too long in my opinion. Yet, you can reduce size afterwards.
“3M Super 33+” is used for first layer of insulation, while standard large PVC tape is used for second one, to attach dust covers.
![]()