Diagnosis: old panel vs refurbished panel
Measured in same conditions, bass are boosted around 60Hz on a refurbished panel whereas on an aged one, bass boost occurs around 100Hz. This is the main audible consequence of ageing on panels.
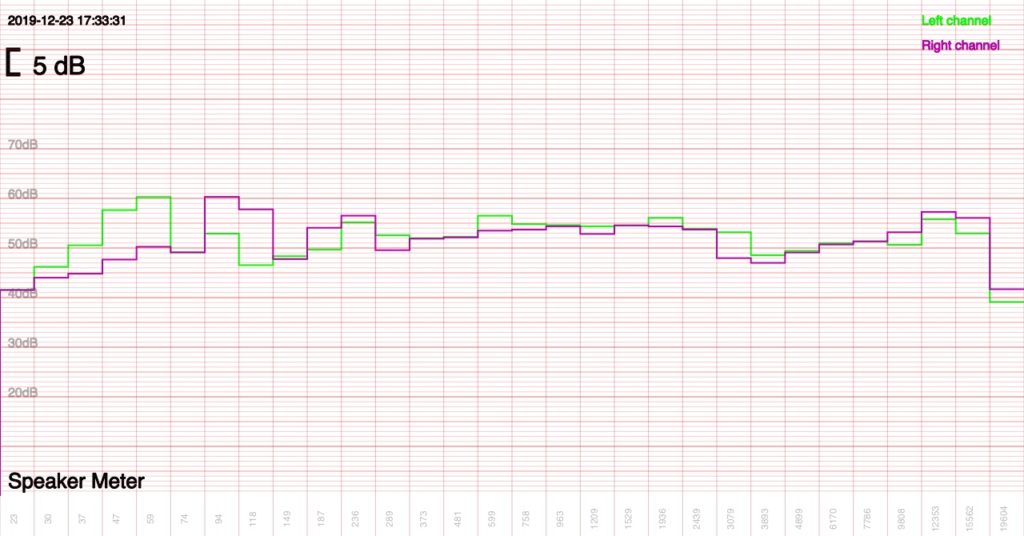
On the drawing above one can see that ageing of treble cells is not significant at all. Main trouble that can happen with treble cell is arcing, due to too high power/voltage applied on it.

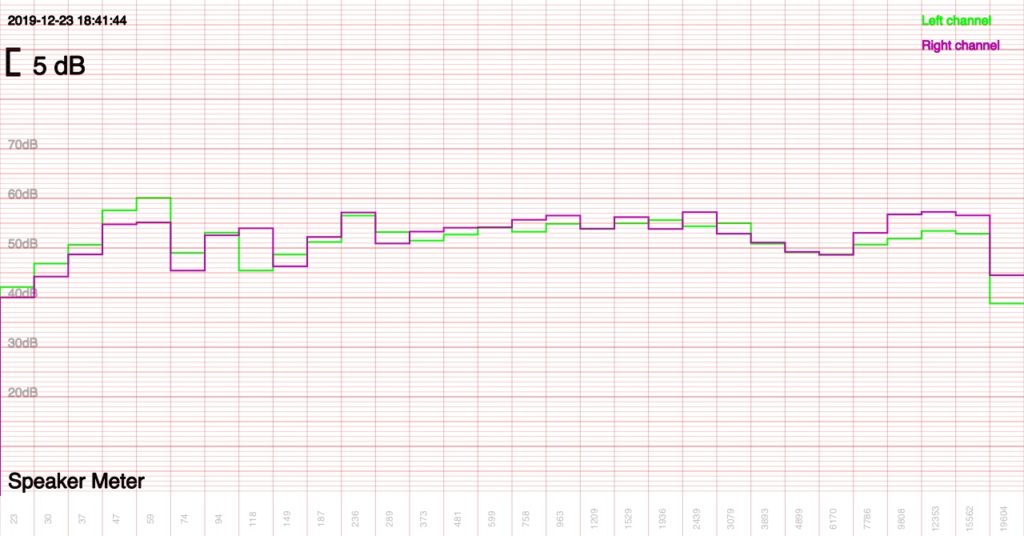
And what happens when comparing 2 refurbished panels ? Same trend (boost around 60Hz). You will see some differences in drawing below but do consider that internal passive components age as well (original ones used in this case). Besides, vertical position matters at lot for highest part.
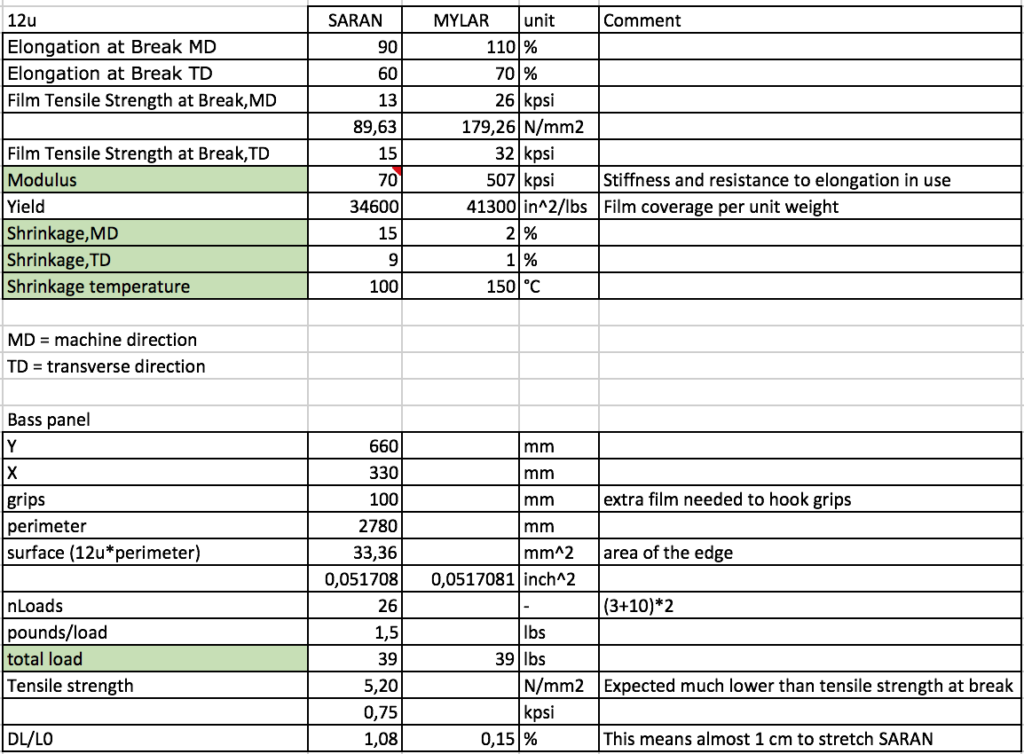
Material
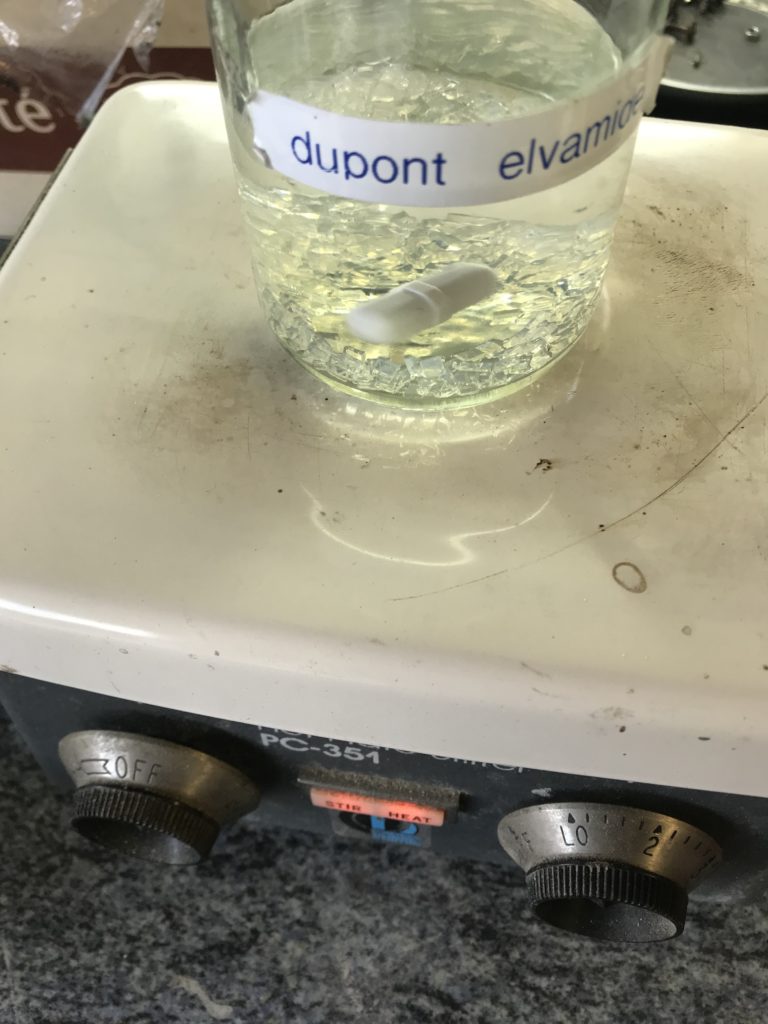
Bass panels should be refurbished using SARAN film (PVC). Unlike MYLAR (PE), it can easily be heat shrunk. In all cases, use 12um thickness. If using Mylar, annealing might be required (heat film under tension), or at least additional heat shrinking once in place and glued.
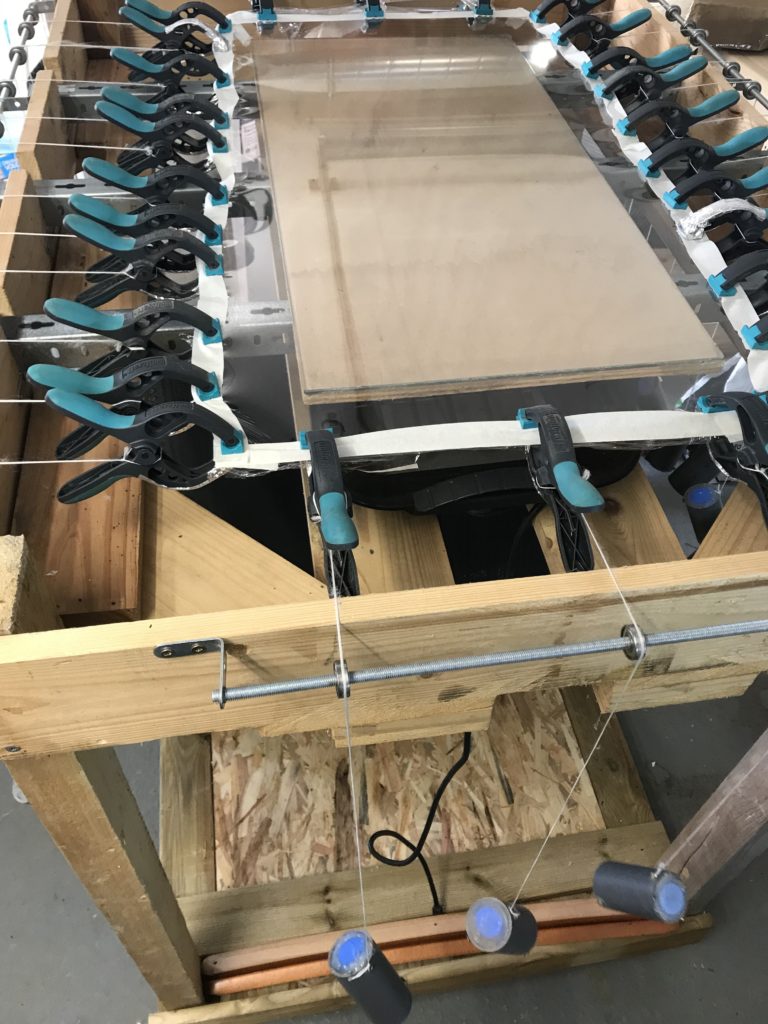
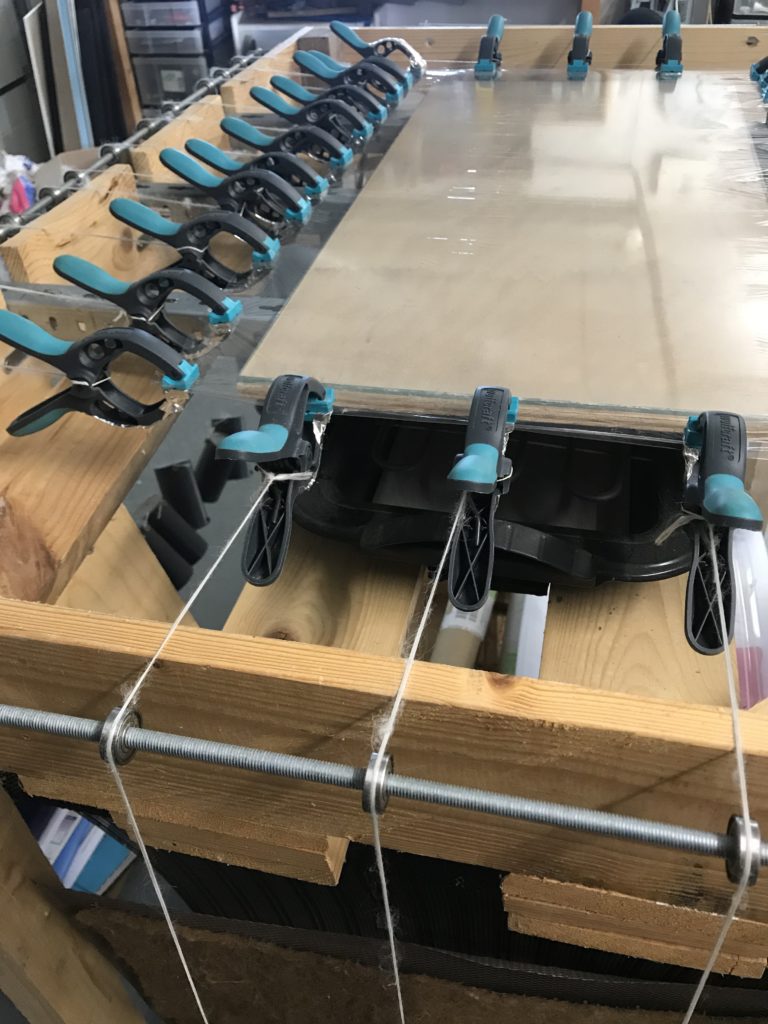
I use a jig, with loads of 1.5 lbs spread around, hooked with grips (see jig chapter).
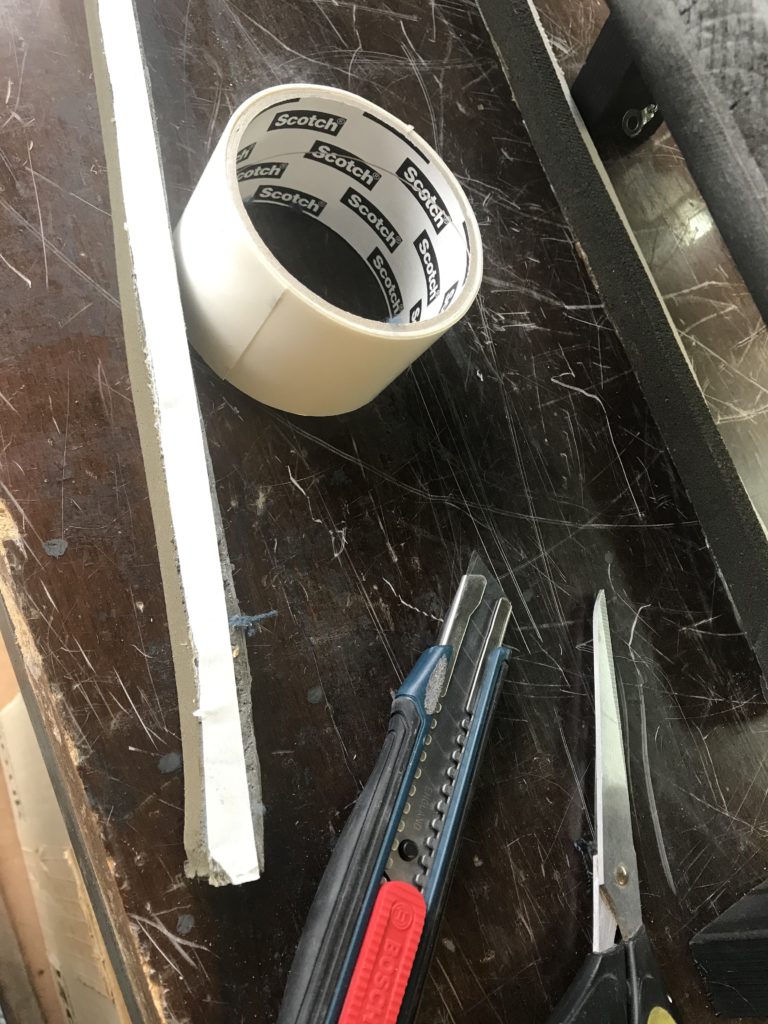
Once bolted, use soft PVC tape like 3M super 33+ to isolate borders. Do not use too rigid tape – like packaging tape – otherwise the full panel will be thicker and you will have difficulties to screw the back grill.
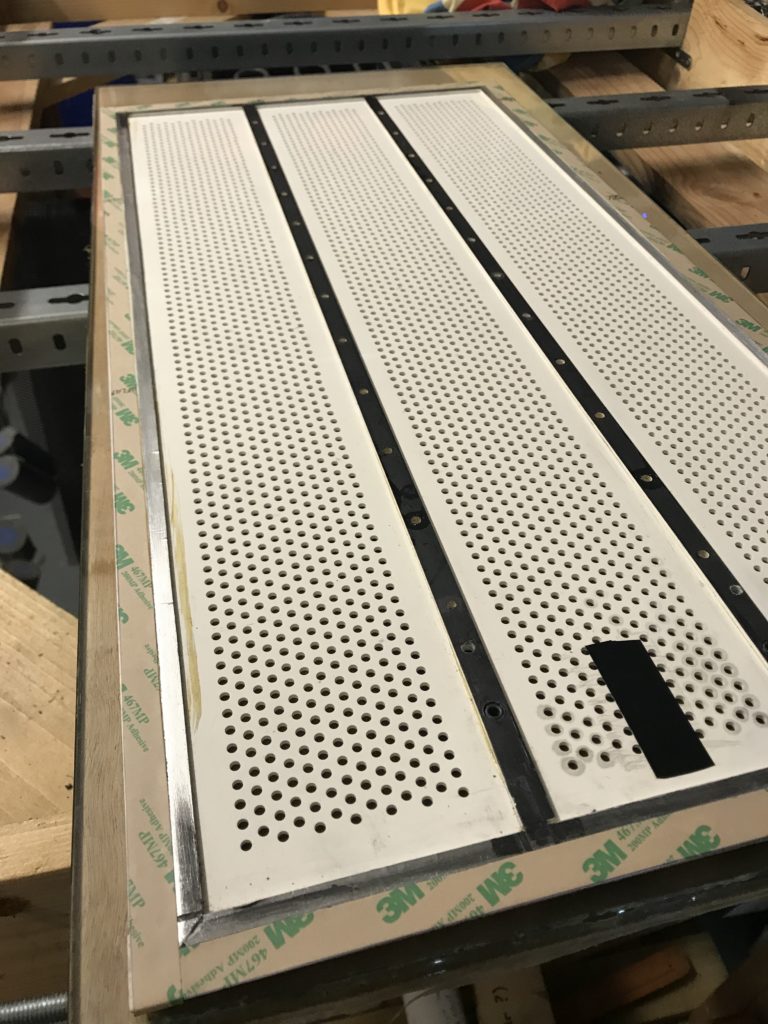
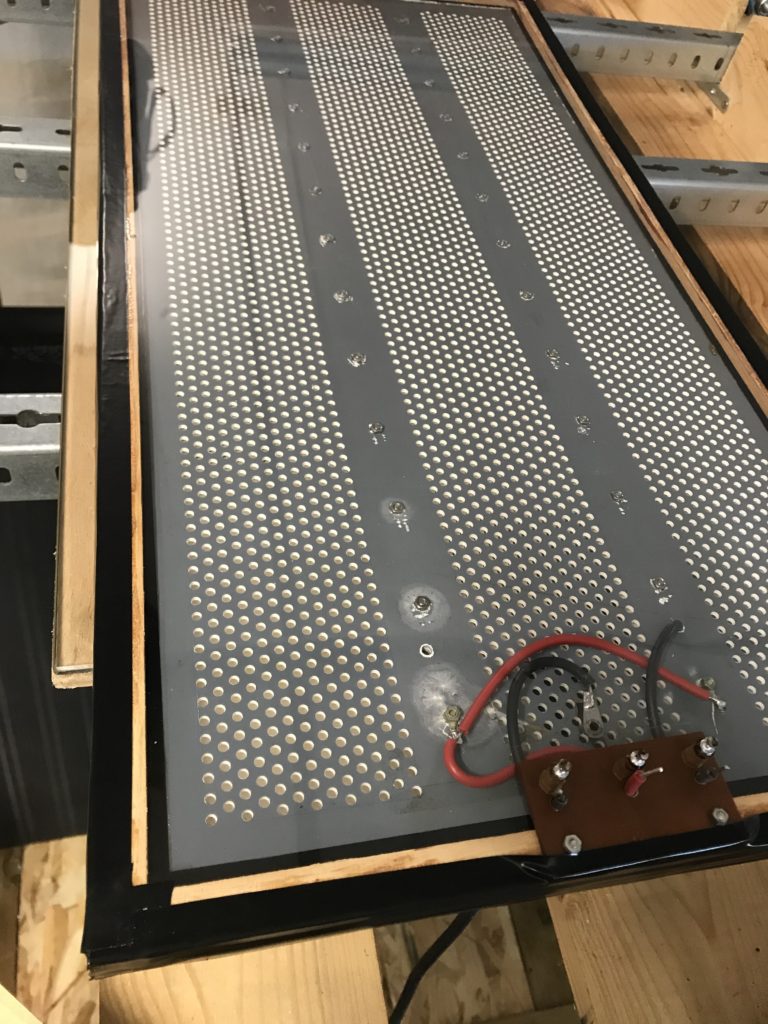
Prepare stators
Opening cell takes time: 45 minutes to remove about 66 rivets (vs 56 for treble cell). Do not remove rivets used for connections !
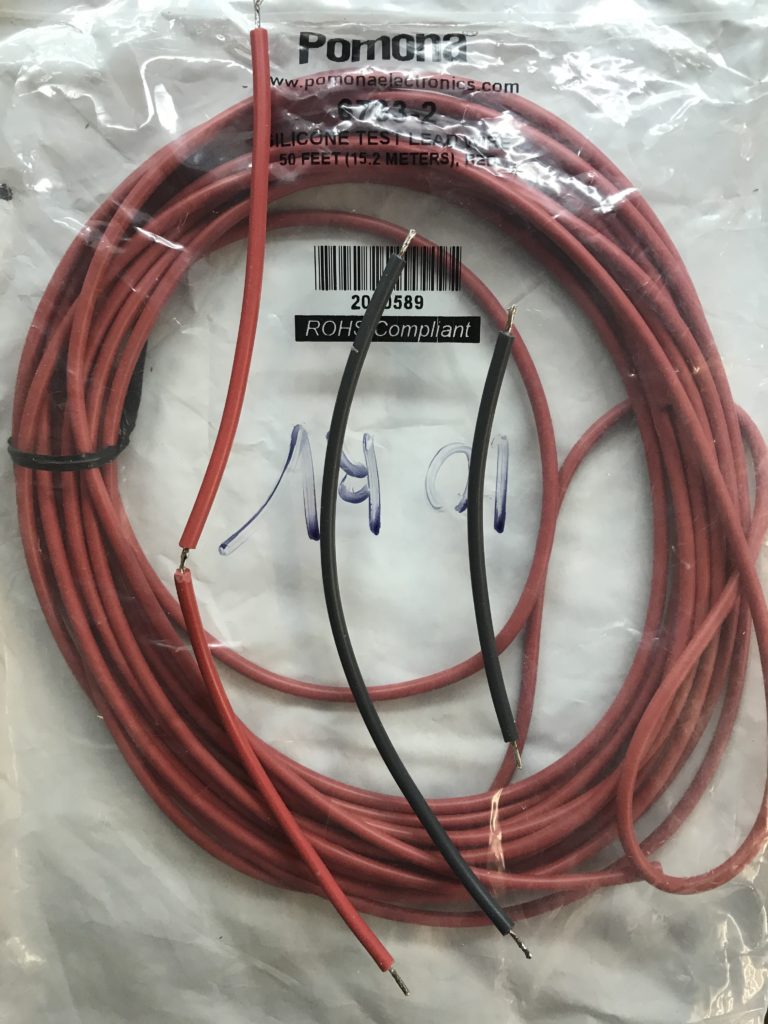
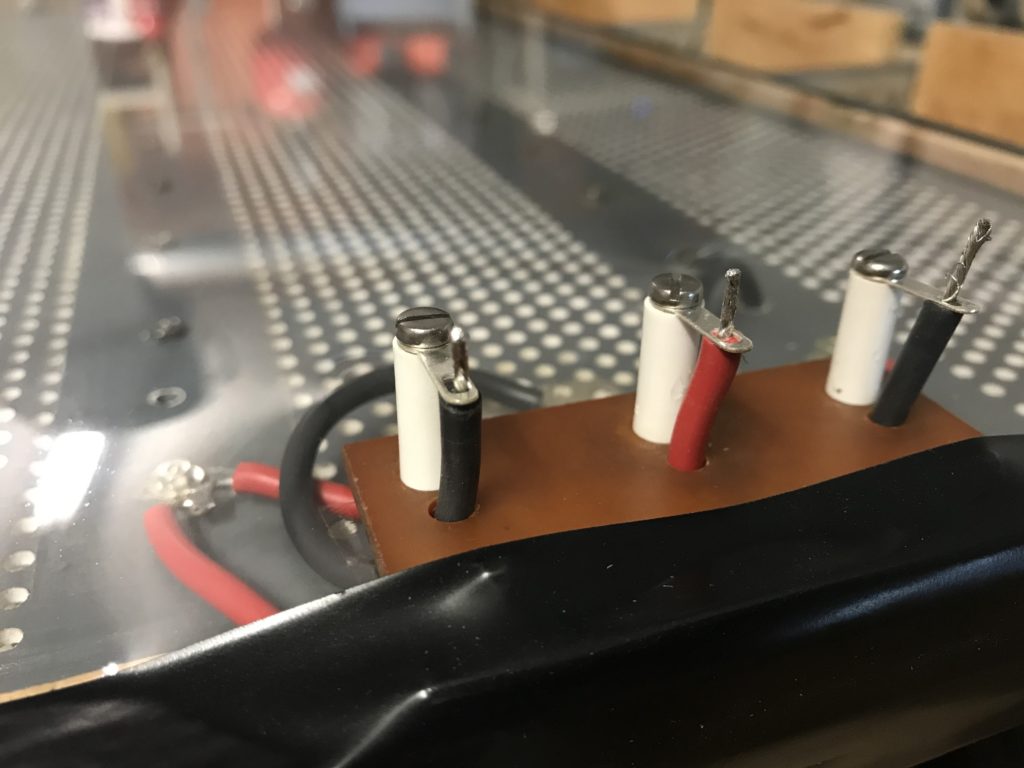
3 wires are needed:
- 240mm from center connector to left then right solder points (diaphragm)
- 105mm from left connector to rear stator
- 180mm from right connector to front stator (going through the full panel)
Tip: take care not to overheat connectors on stators when soldering.
Check connection between the 2 internal stripes and the external ring. Use aluminium tape for external stripes and conductive paint for connections in between, to repair if necessary. Example here with spray paint:
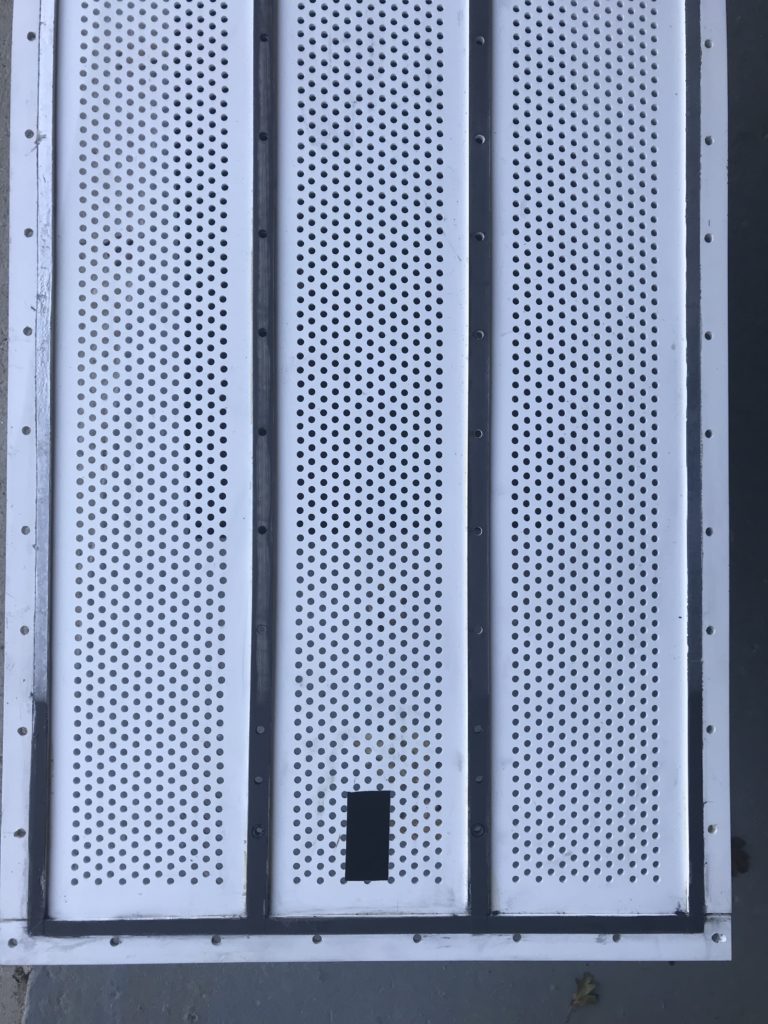
Take care that cheap conductive paint is not … conductive. Make trials !
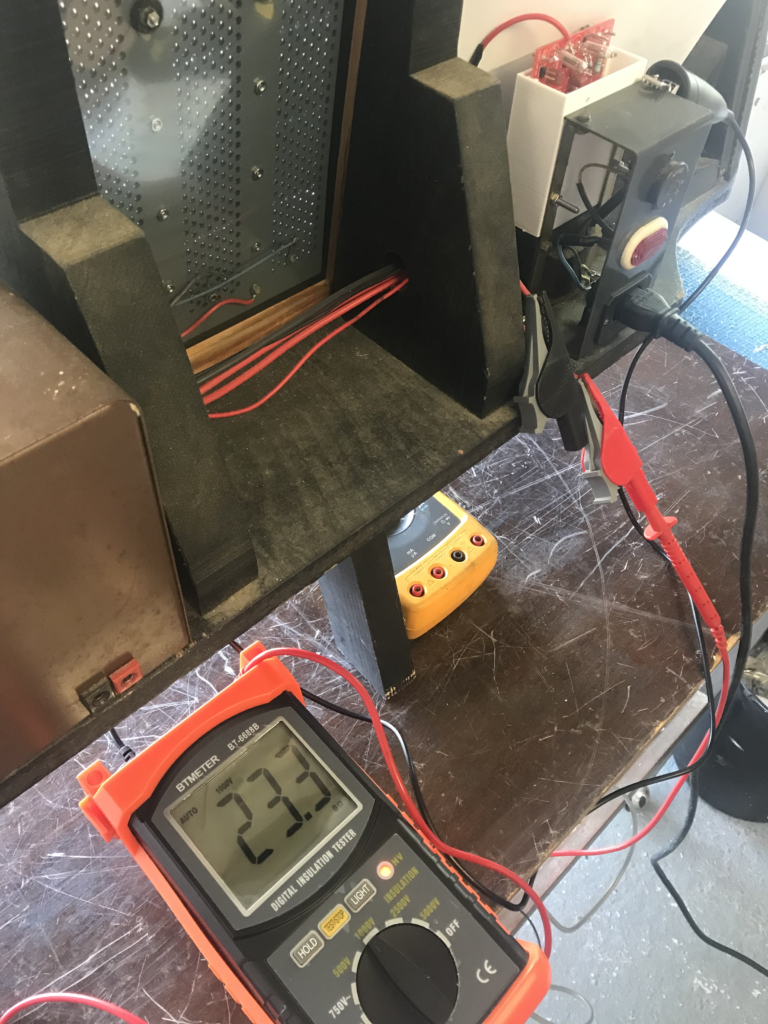
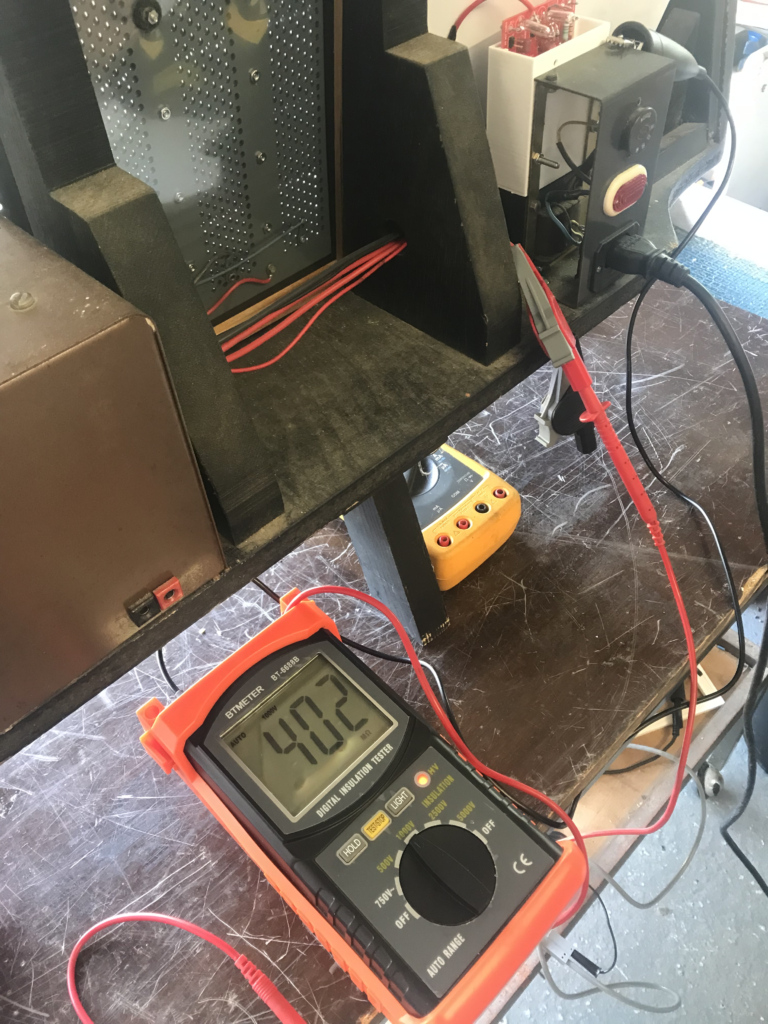
Tip: check now before gluing a film that resistivity between each stator and metal strips is higher than let’s say 10GOhm. If below, stop there and track for leakage.
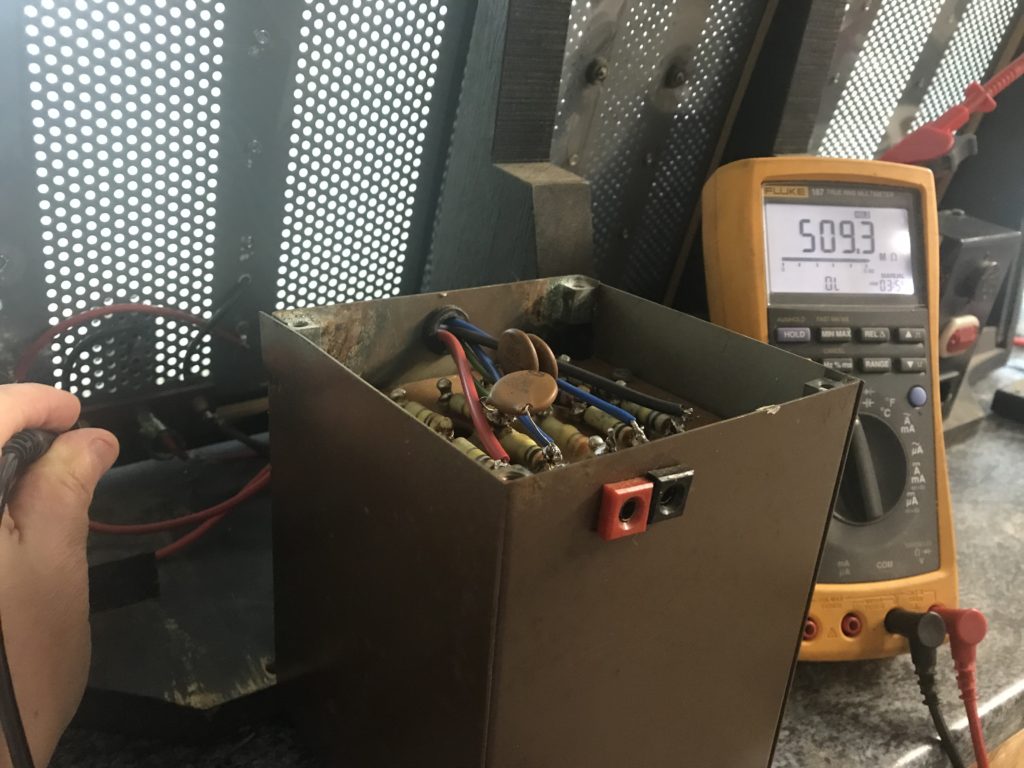
Here below, a true example of leakage that could be measured to as low as 100MOhm. Enough to have full restoration fail. Solution: water & soap, the dry and clean with alcohol.

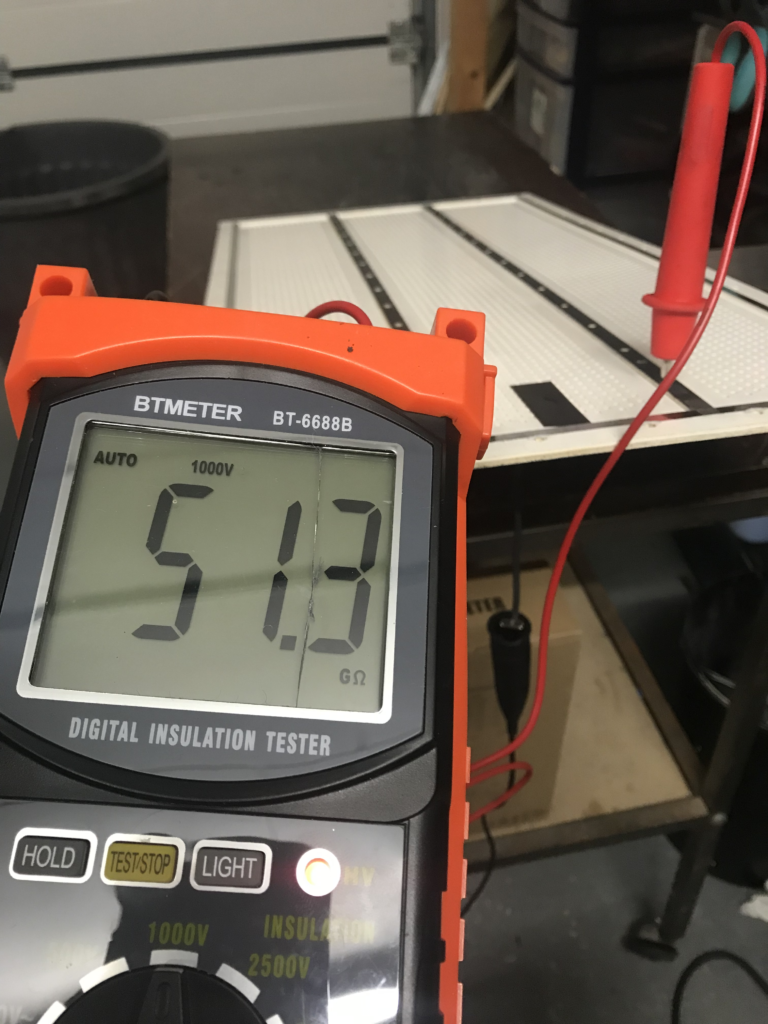
Once re-wired, check again leakage of both bass cells. Here just above 500MOhm which is not so good. Below let’s say 10GOhm, the EHT cannot cope with it, resulting in drop of sensitivity of … treble cell.
Attention !: take care to apply ‘+’ probe on PSU/6kV and not ‘-‘ probe. Otherwise you will measure as low as few tenths of MOhm, as you would measure on the PSU itself alone, unsoldered (see chapter on checking PSU). For ‘-‘ probe, you can use ground as well.
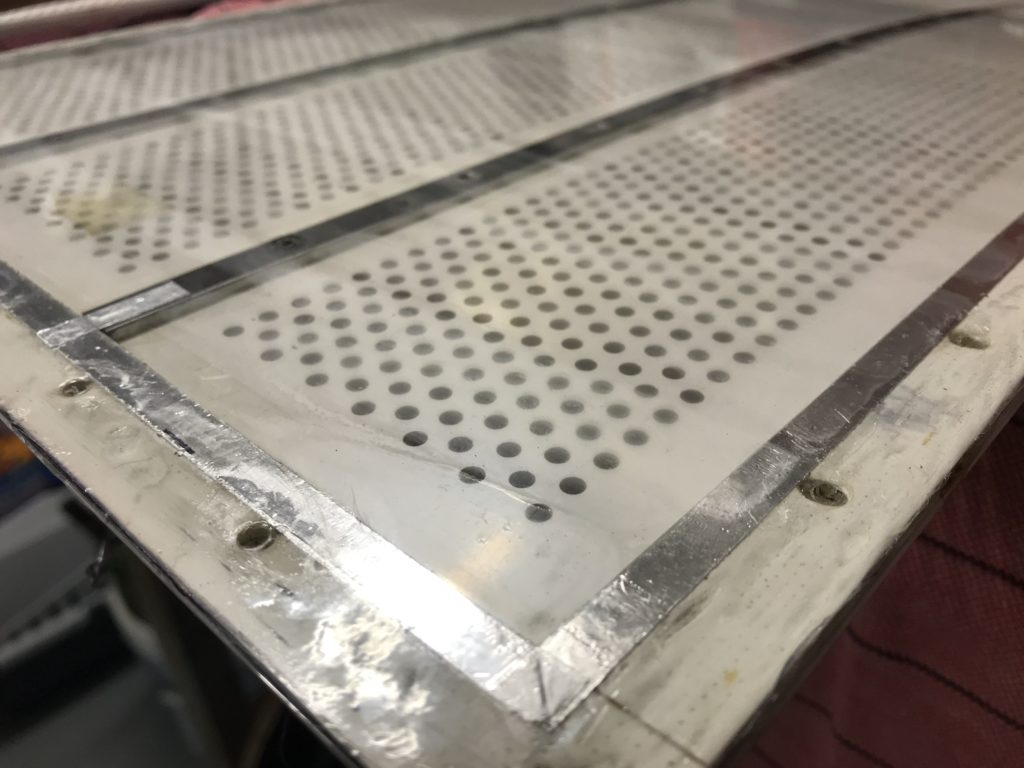
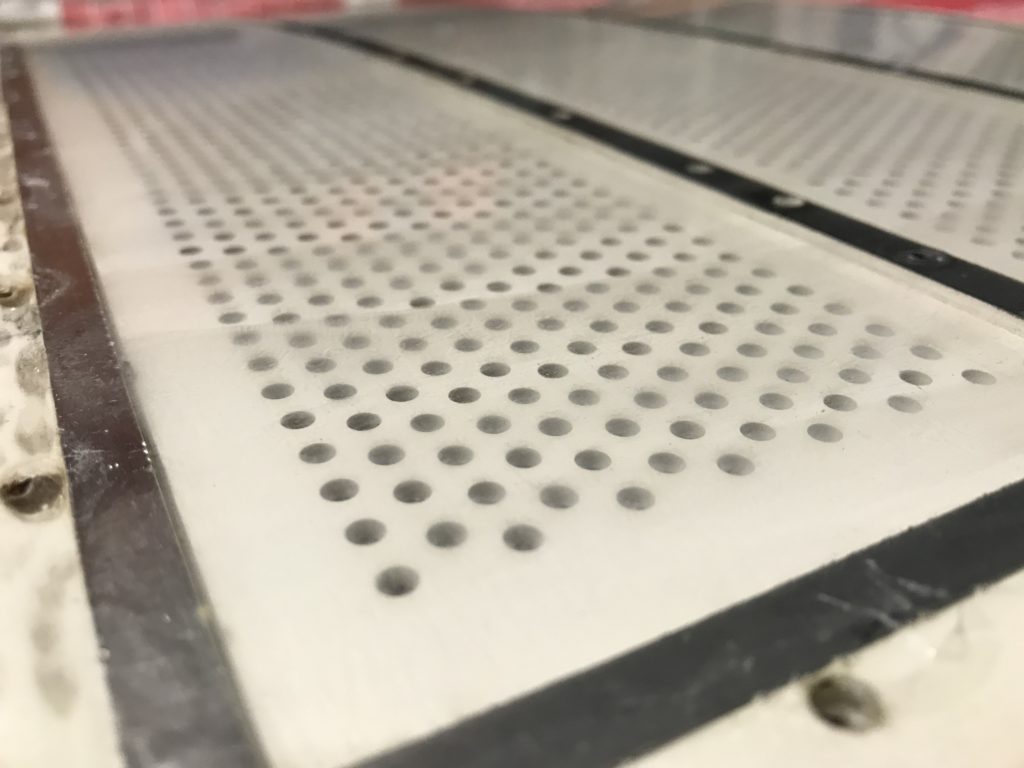
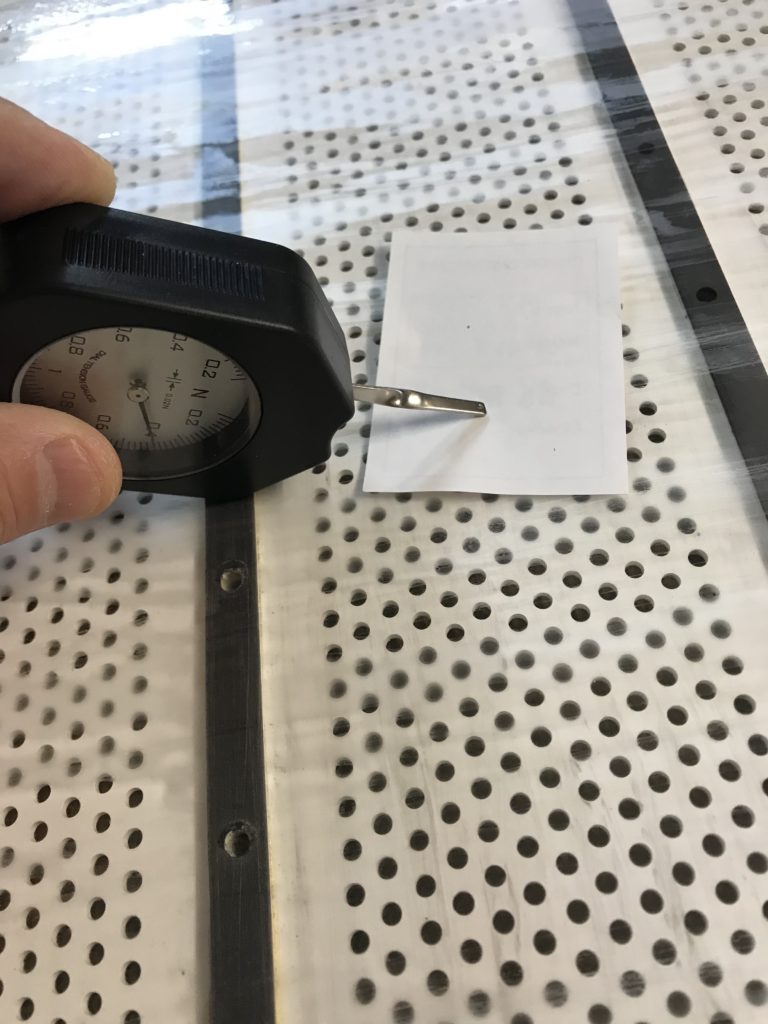
Stretching film
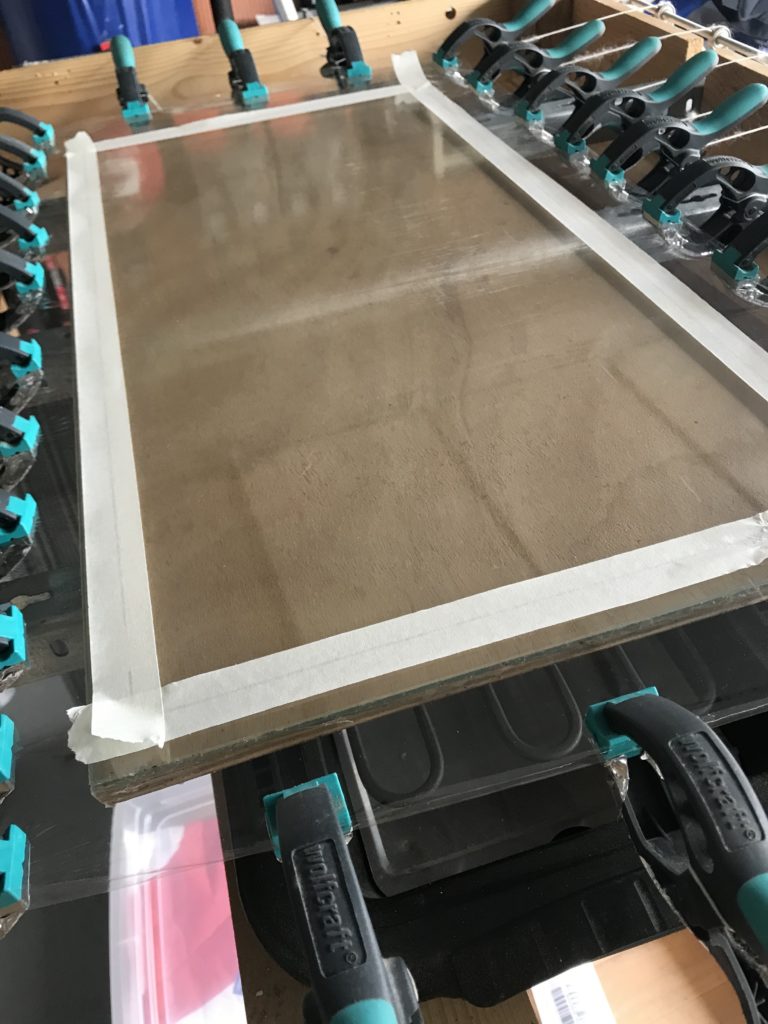
PVC film (12um) is stretched using the jig. Some tape is applied on borders where the clamps grip the film to avoid tearing it. Which happens with some fragile PVC films. Let the film be tensioned for a while (1/4h) before gluing it to check that there is no isolated weakness somewhere. Worth trying: clean with alcohol to check if this triggers some changes in the tension of the film (because Elvamide is diluted in alcohol). Then you can place temporarily a stator and mark borders with a pencil or even masking tape.
In all cases, clean first the tensioned film with alcohol before applying coating, and let dry.
Then Elvamide is applied on full surface corresponding to stator except borders, to reduce leakage.
Now stator can be glued. “3M 467MP” is for sure ideal here: it just works great.
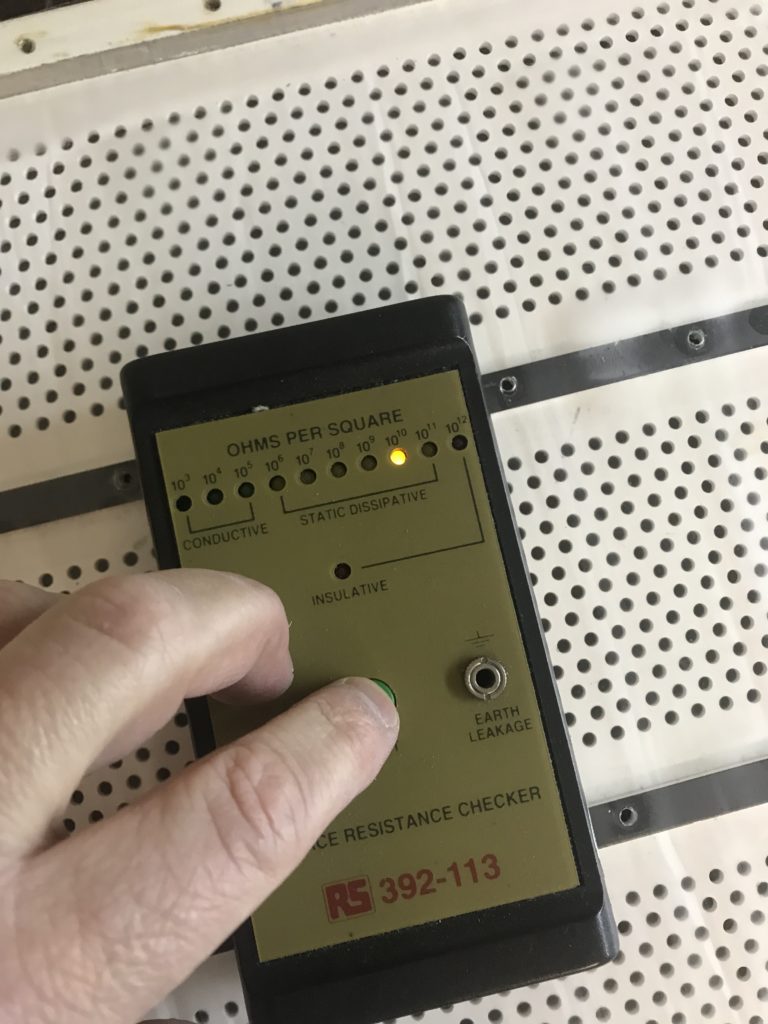
Optional: check surface resistivity (after applying coating). 1010 to 1012 is ok. Reference is http://www.quadesl.org/index.php/hard-core/panel-coatings/original-quad-coating
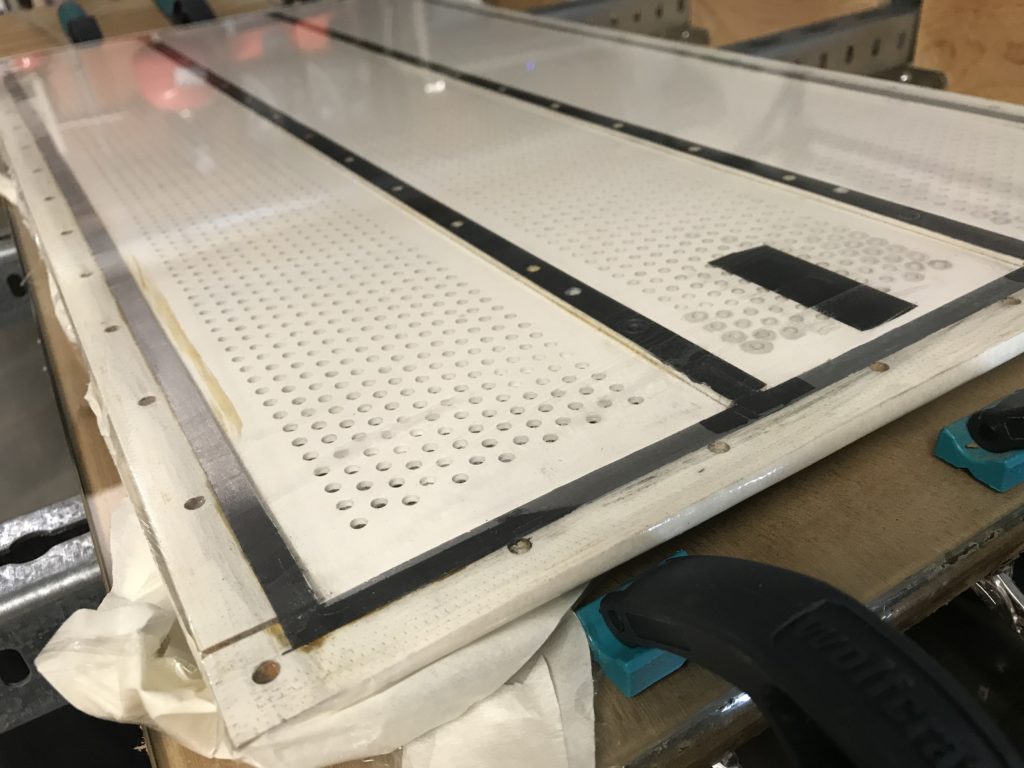
Then coating on the other side, then bolts and nuts, then dust covers, et voilà:
Tip: use soldering iron to melt the PVC film before inserting nuts through the panel.
![]()